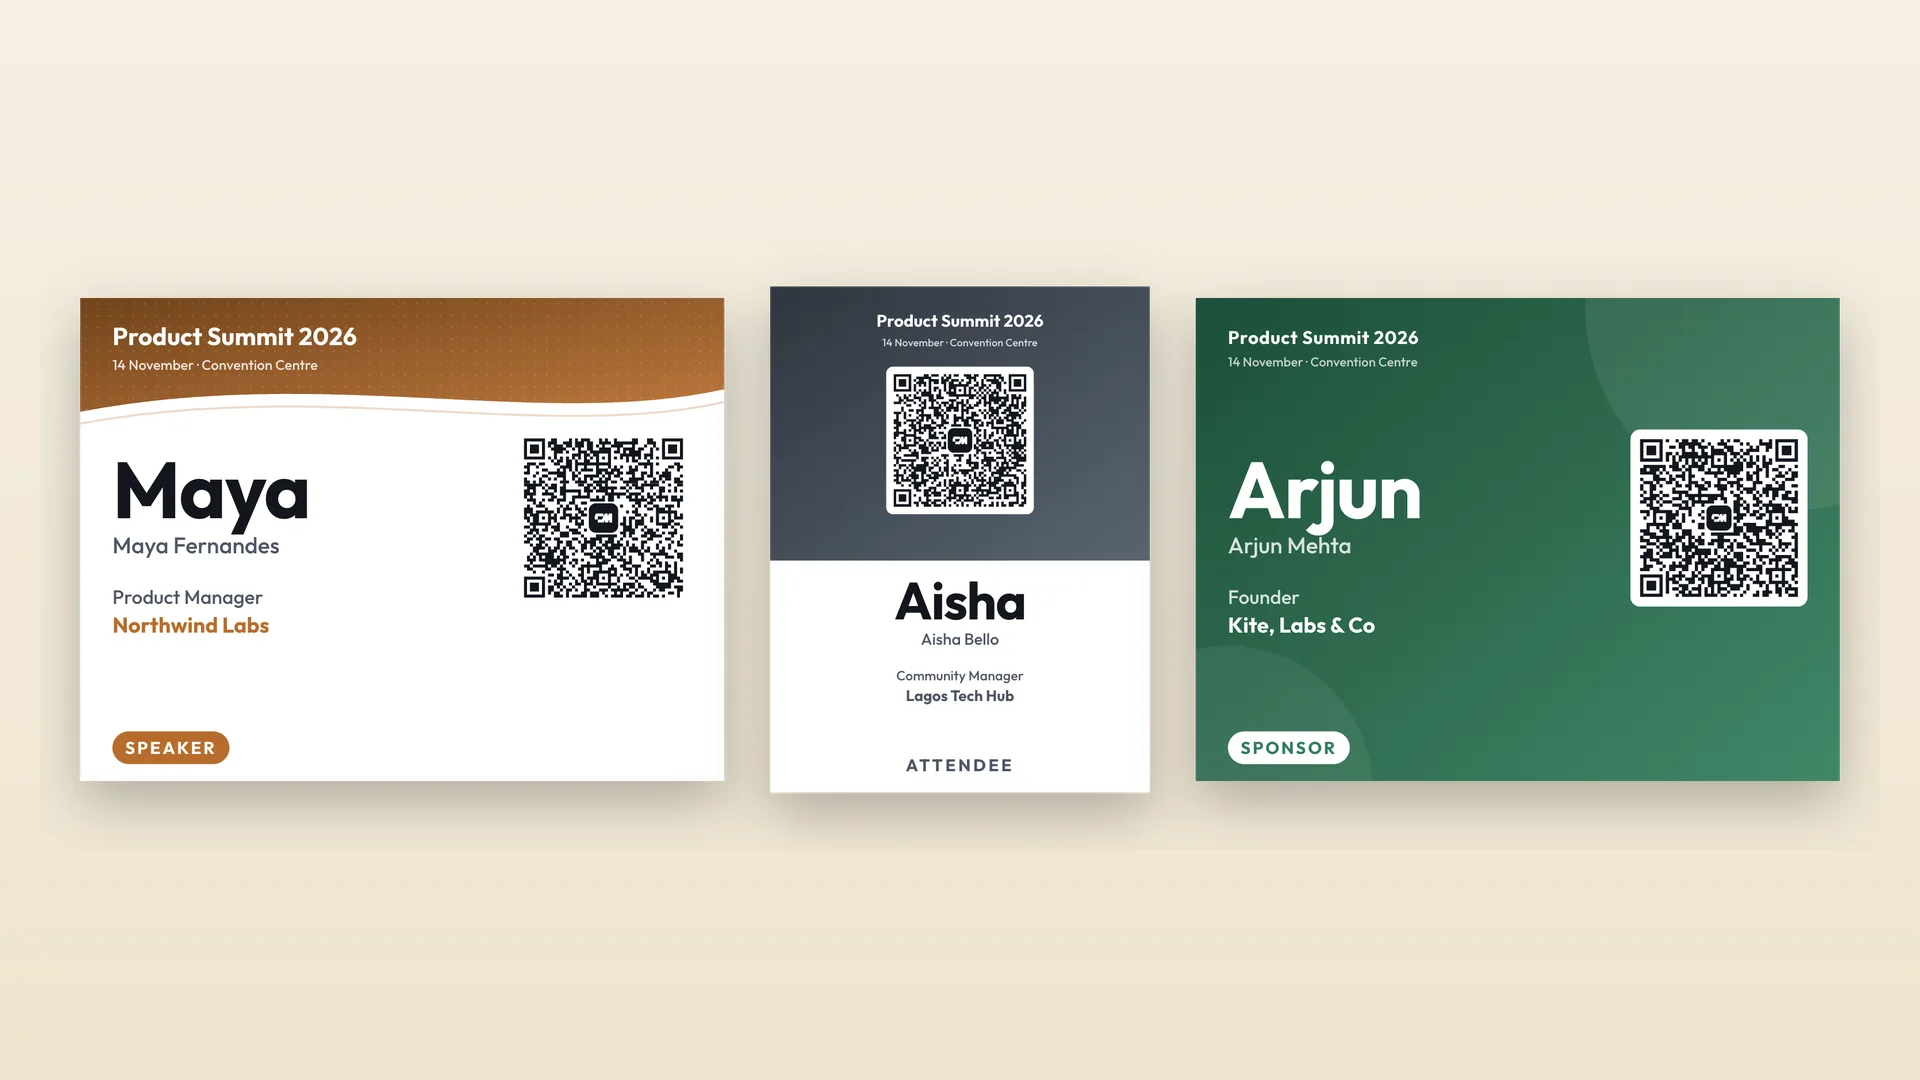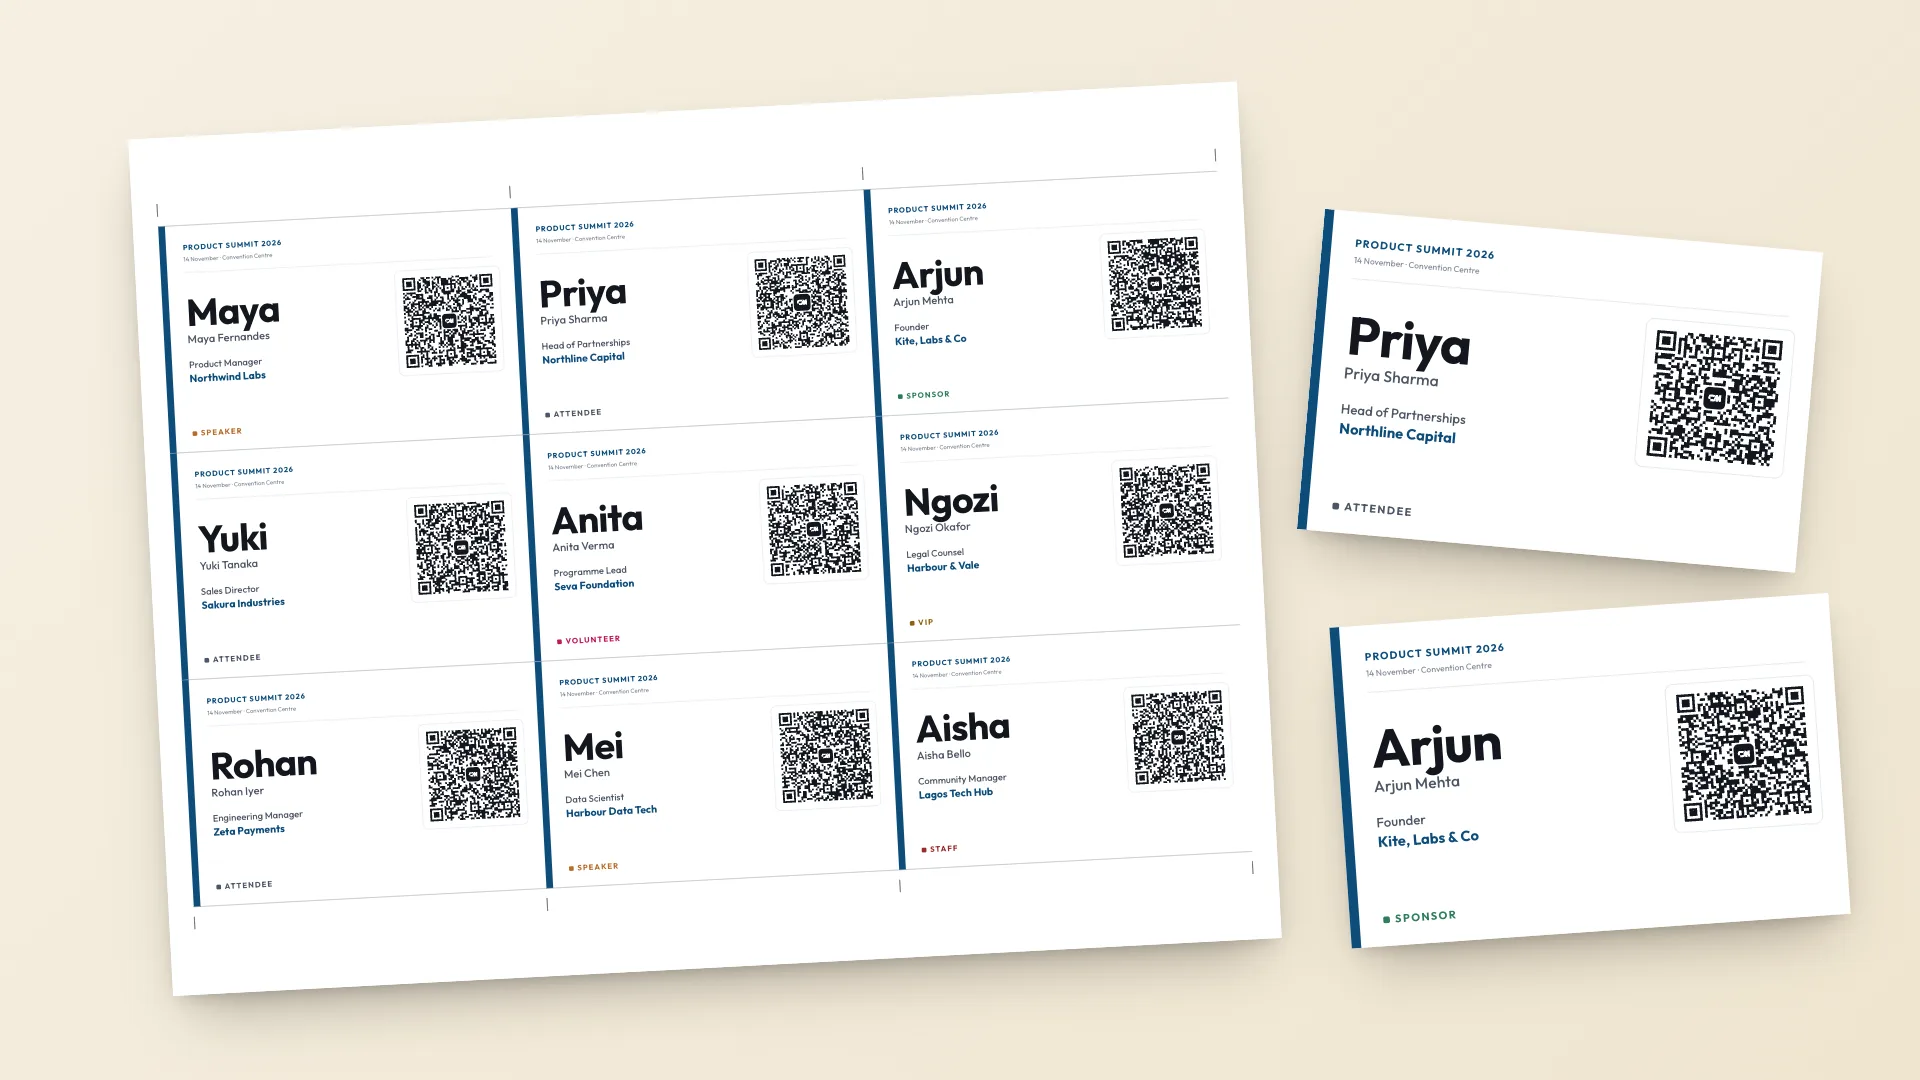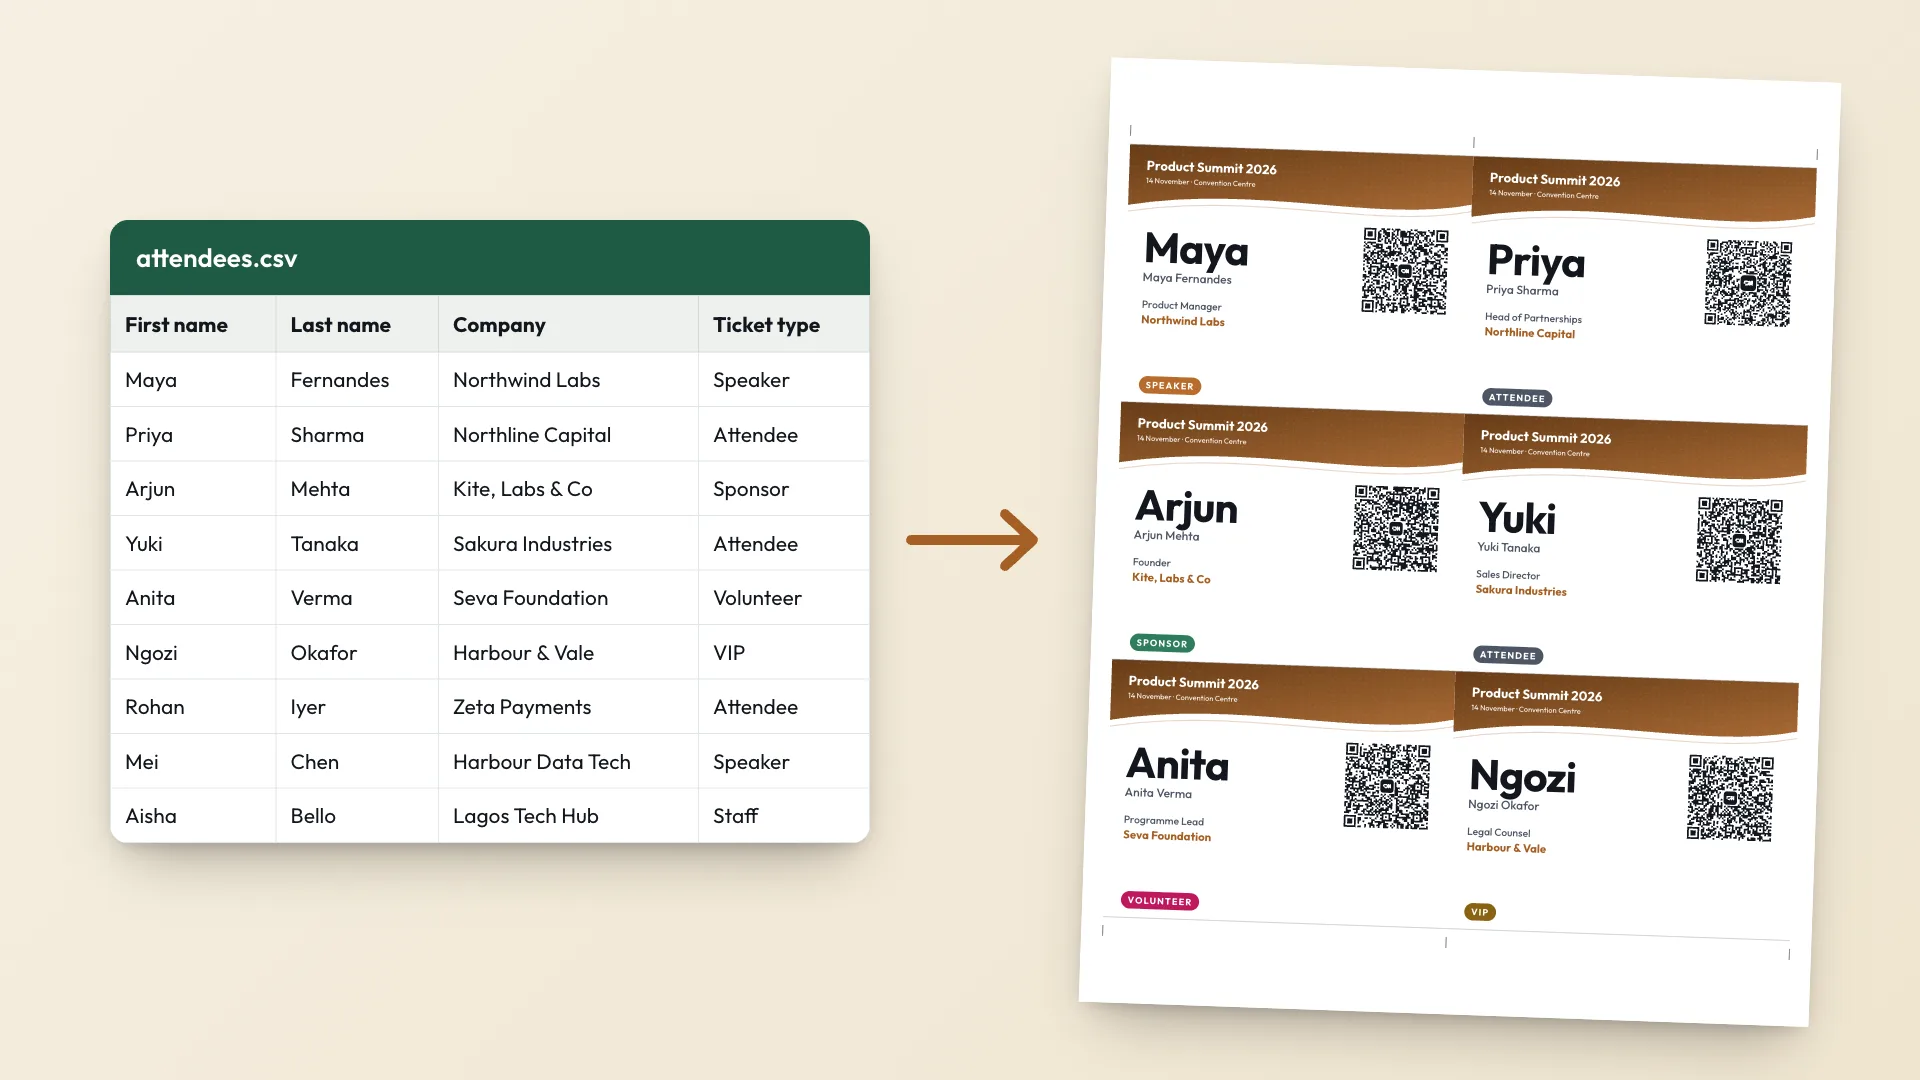

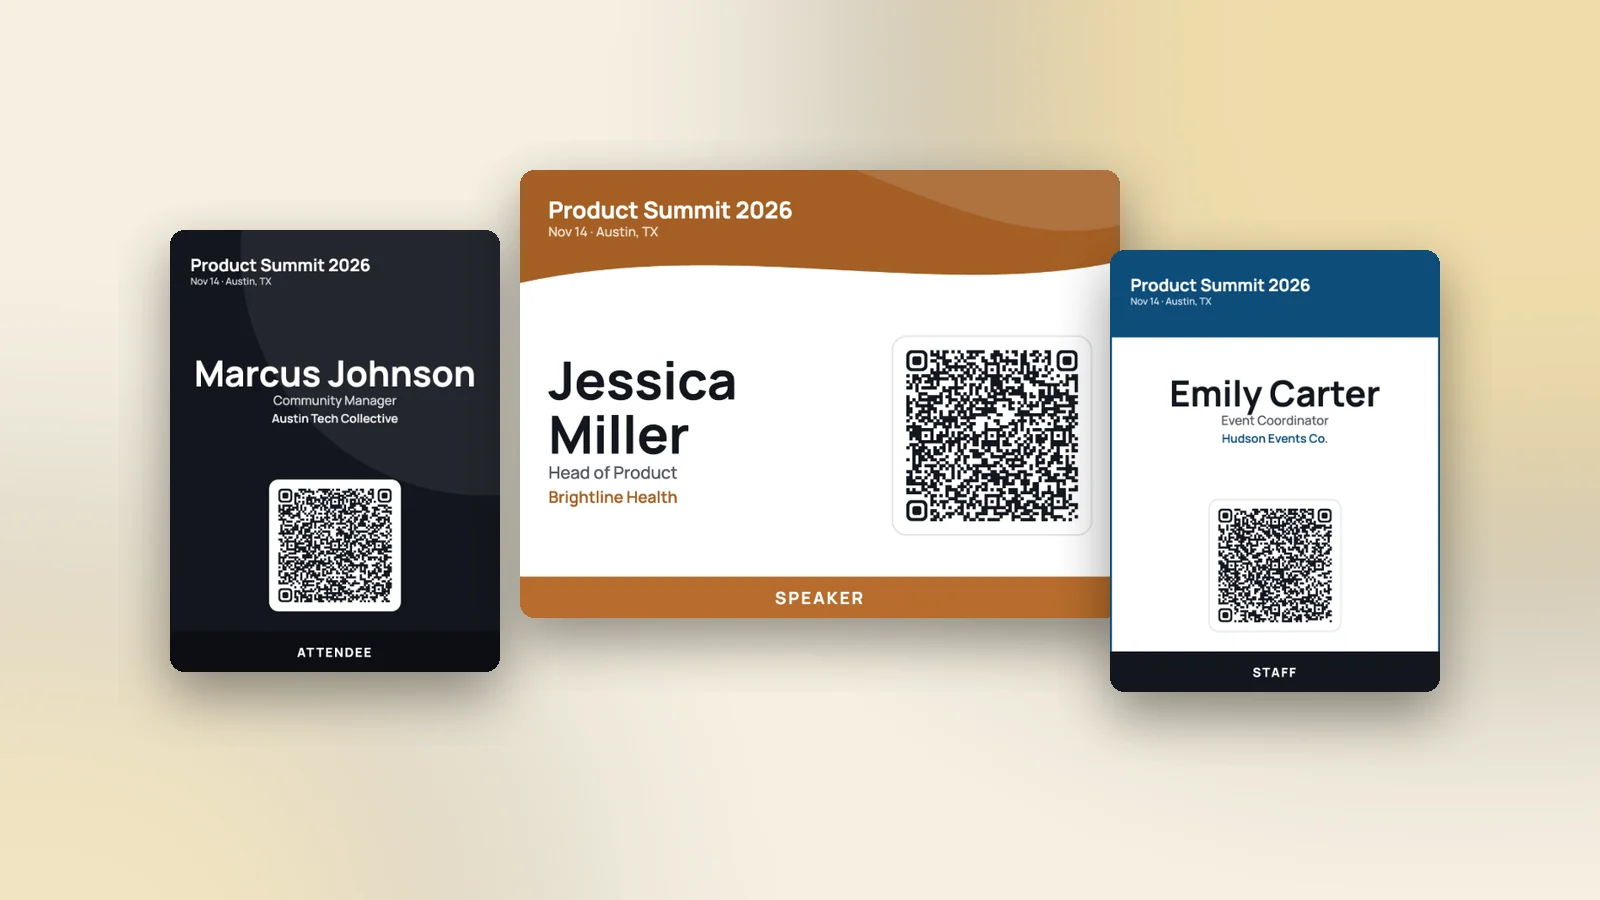
To make name tags for a Meetup, open your event page, select Organizer tools, then Manage Attendees, and choose Attendee details from the dropdown. Meetup downloads your RSVP list as a spreadsheet. Save it as a CSV, upload it to a free name tag maker such as the Event Badge Maker, and print one tag per row on A4 or US Letter.
The short version
- On your Meetup event page, select Organizer tools and choose Manage Attendees.
- Open the dropdown and choose Attendee details. A spreadsheet of your RSVPs downloads.
- If the file is not already a
.csv, save it as CSV UTF-8, then upload it to the Event Badge Maker. - Pick the 3.5 x 2.25 in name tag size, check a few names in the preview, and select Print badges.
Decide what goes on the tag before people RSVP
Out of the box, the Meetup list gives you each member's name as it appears on Meetup. People pick that name themselves, so expect a mix of full names, first names with an initial, and the odd nickname. For a casual meetup that is often fine. It is what people already call each other in the group.
If you want a job title or company on the tag too, you have to ask for it when people RSVP. Anyone who RSVP'd before you added the question won't have an answer, so set this up when you create the event.
On any organizer plan: ask an event question
When you create the event, open Optional settings and turn on Ask members a question. Something like "What do you do, and where?" works. The answer prints on one line, exactly as typed, so a short question gets short answers.
Meetup asks organizers not to collect sensitive or private details through event questions, and lists full name, email address and phone number among them. Stick to role and company. Answers are also optional, so some tags will only have a name.
On Meetup Pro: use the registration form
Pro organizers get a Registration form toggle in the same Optional settings. You choose from first and last name, phone number, current role, organization name and main reason for attending. For name tags, tick first and last name, current role and organization name. The responses download through the same Attendee details menu.
Download your Meetup attendee list
Do this a day or two before the meetup, then again on the morning if RSVPs are still moving. Meetup describes the download for desktop and mobile web, so use a browser rather than the app. Running the event on another platform? See the guides for Eventbrite name badges and Luma name badges.
1. Open your event page
Log in as the organizer and go to the event you are making name tags for.
2. Go to Manage Attendees
Select Organizer tools and choose Manage Attendees. The list has separate tabs for confirmed attendees, canceled RSVPs and the waitlist.
3. Download Attendee details
Open the dropdown menu and choose Attendee details. Meetup downloads your RSVP list as a spreadsheet you can sort and print from.
Turn the download into a CSV and match the columns
Meetup's help pages don't list the columns in that file. So open it once before anything else and look at what came through: the name column, plus any registration form or event question answers.
4. Save it as CSV UTF-8
The Event Badge Maker reads CSV files only. If the download is an Excel file, open it in Excel and use File › Save As › CSV UTF-8. In Google Sheets, use File › Download › Comma-separated values. UTF-8 keeps accented names like Zoë and José intact.
While the file is open, delete any rows for people who canceled or are still on the waitlist, and fix names you know are wrong. If a few people are hosting or speaking, add a column called Badge type and type Host or Speaker next to their names. That prints as a coloured ribbon. Leave it empty for everyone else.
5. Upload and check the matches
Open the Event Badge Maker, select Create event badges and drop the CSV into Upload attendee list. The file is read in your browser and is not uploaded anywhere. Then look over each dropdown under Columns we matched. Anything the tag doesn't need can stay on Not used.
| From Meetup | Name tag field | Notes |
|---|---|---|
| Member name | Full name | The name each member uses on Meetup. Edit it in the CSV if you want full names. |
| Organization name (Pro registration form) | Company | Only there if the registration form was on for this event. |
| Current role (Pro registration form) | Job title | Same as above. |
| Your event question's answer | Job title or Company | Prints as one line. Either field works. |
| Phone number (Pro registration form) | Phone | Off in the QR by default. Turn it on only if people agreed to share it. |
| The Badge type column you added | Badge type | Prints as the ribbon. Blank rows get no ribbon. |
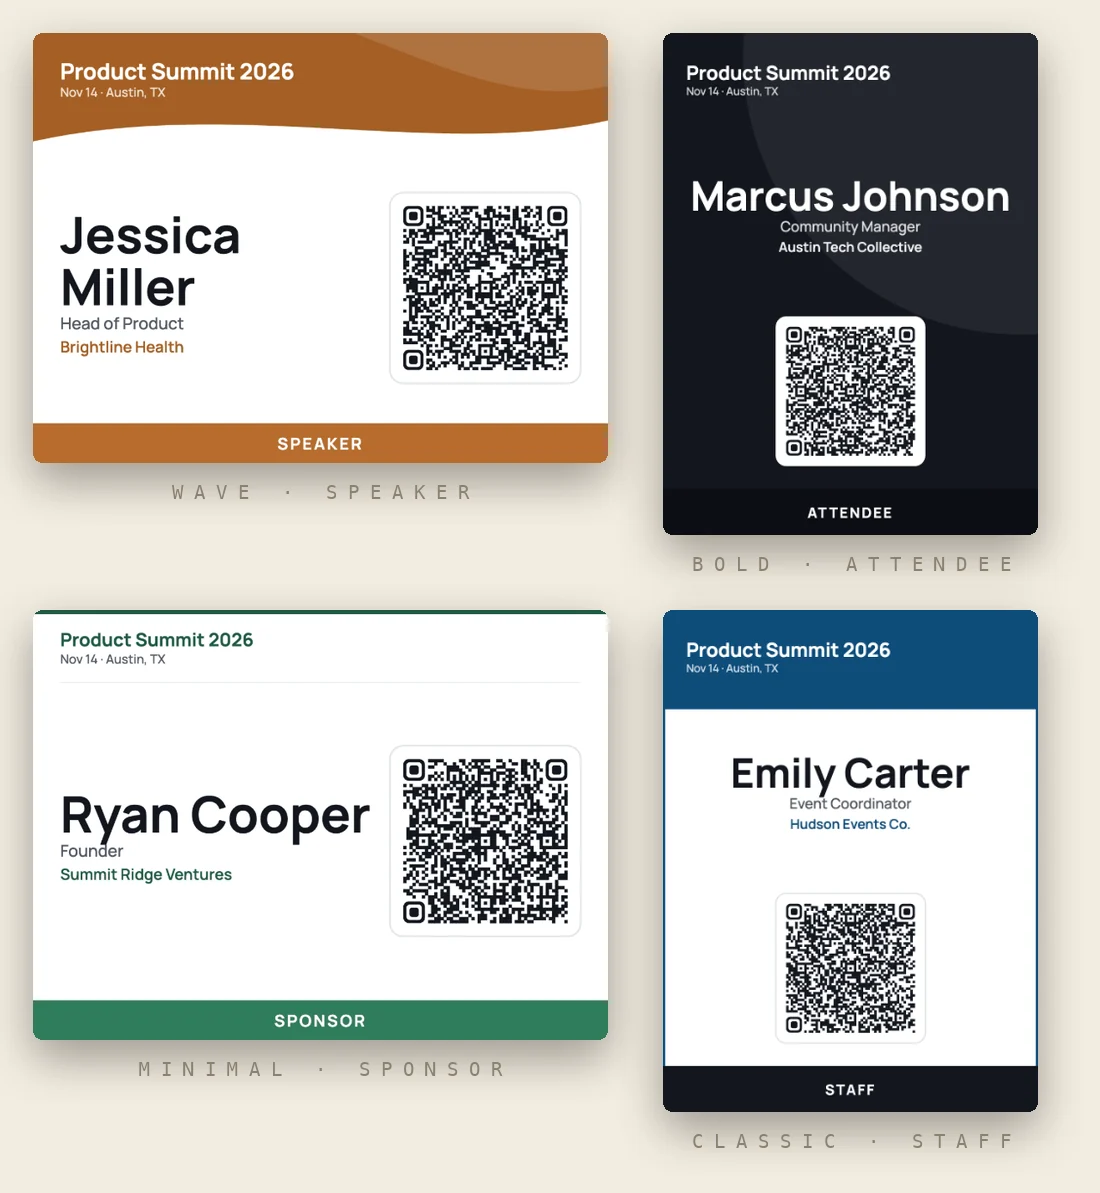
The QR code on each tag saves that person's contact to whoever scans it. It always includes the name, and adds the job title and company when you have them. Meetup doesn't put member emails in the event download, so on most Meetup tags the QR saves a name, role and company.
The same steps work for any attendee spreadsheet. See how to make name tags from a spreadsheet for lists that didn't come from Meetup.
Print the name tags
6. Pick a size and a template
Add the meetup name and date, and your group logo if you have one. Choose the 3.5 x 2.25 in name tag size for a small, informal tag, or 4 x 3 in landscape if you are using lanyards. Use the arrows under the preview to check the longest names. Our guide to name badge sizes lists which holders fit which size.
7. Print badges
Select Create badges, then Print badges. Choose A4 or US Letter to match your printer. Print at 100% with "fit to page" turned off, run one test sheet, and scan one QR code with your phone before you print the rest. Cut along the cut marks.
For card stock, holders and print shop options, see how to print event badges.
Meetup quirks worth fixing before you print
Plus-ones have no names.
Members can bring guests, and Meetup only records how many. A guest count is a number, not a name, so those people won't be in your file. Keep a marker and a few blank tags at the door.
A tag shows a nickname or just a first name.
That is the name the member set on Meetup. Change it in the CSV if you know their full name, or leave it. Most people at a community meetup will recognise it.
Someone came off the waitlist after you printed.
Download Attendee details again on the morning of the meetup and print only the new names.
Accented names look garbled.
The file was saved in a format other than UTF-8. Save it again as CSV UTF-8 and upload it again.
People ask whether to scan the tag at check-in.
No. Meetup tickets carry their own QR code, which you scan in the Meetup app to check people in. The QR on the name tag does a different job: it saves the person's contact for whoever they meet.