
The short version
- In Luma, open your event's Manage page and go to the Guests tab.
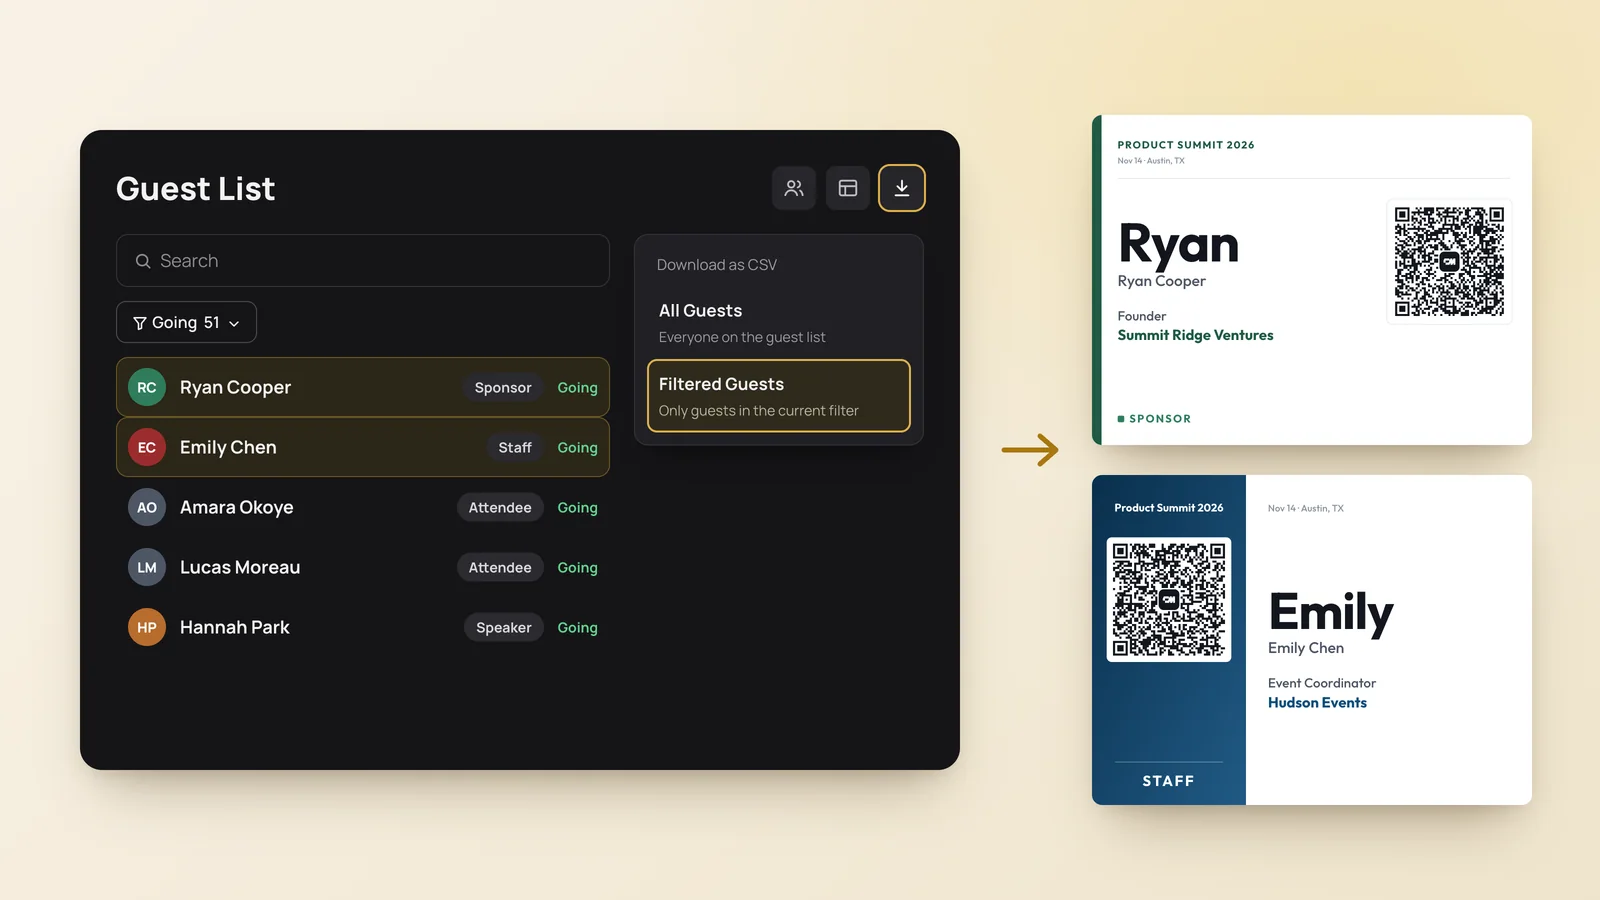
- Filter to Going, select the download icon, then Download as CSV › Filtered Guests.
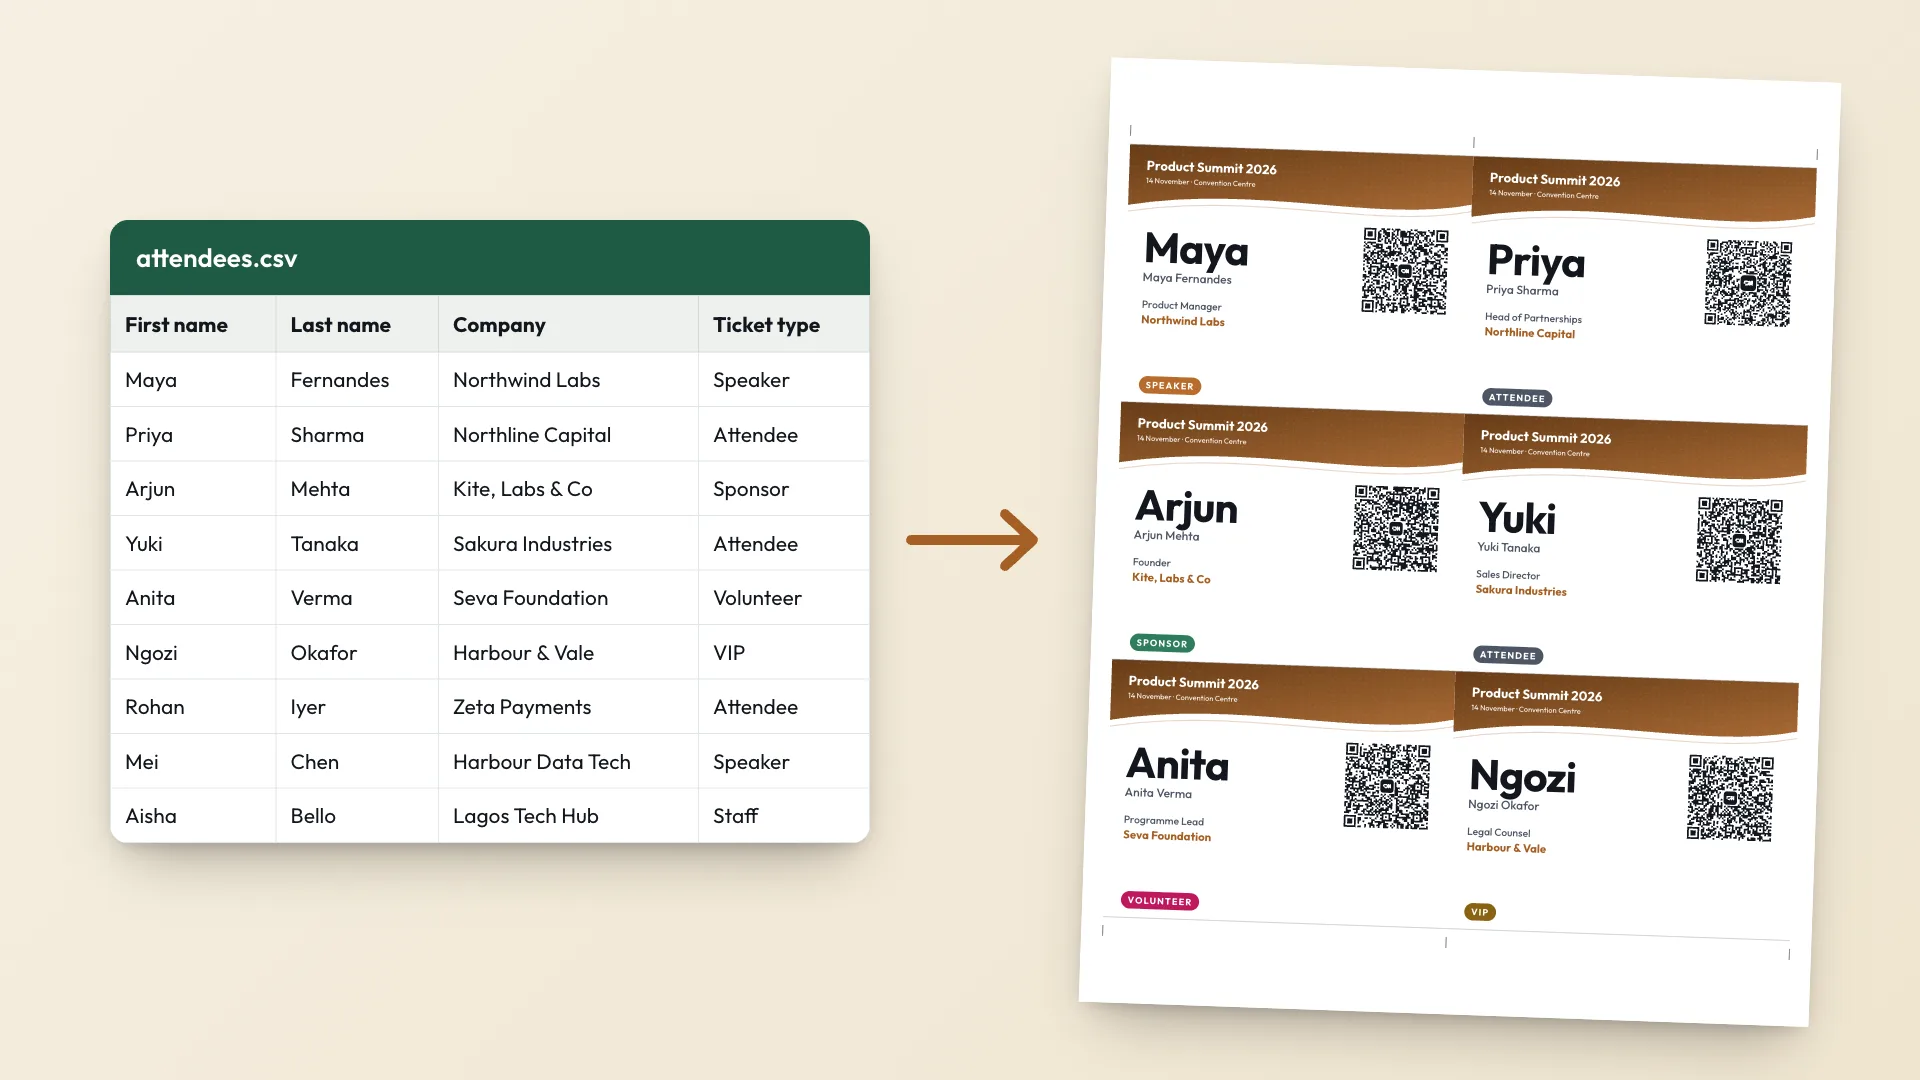
- Upload the CSV to the Event Badge Maker. Luma's columns are matched for you.
- Add your event name, pick a template and select Print badges.
Ask for company and job title at registration
Luma's default registration only asks for a name and email, so a badge would show nothing but the name. Add the questions before guests register: open your event's Manage page, go to the Registration tab, and under Registration Questions select Add Question.
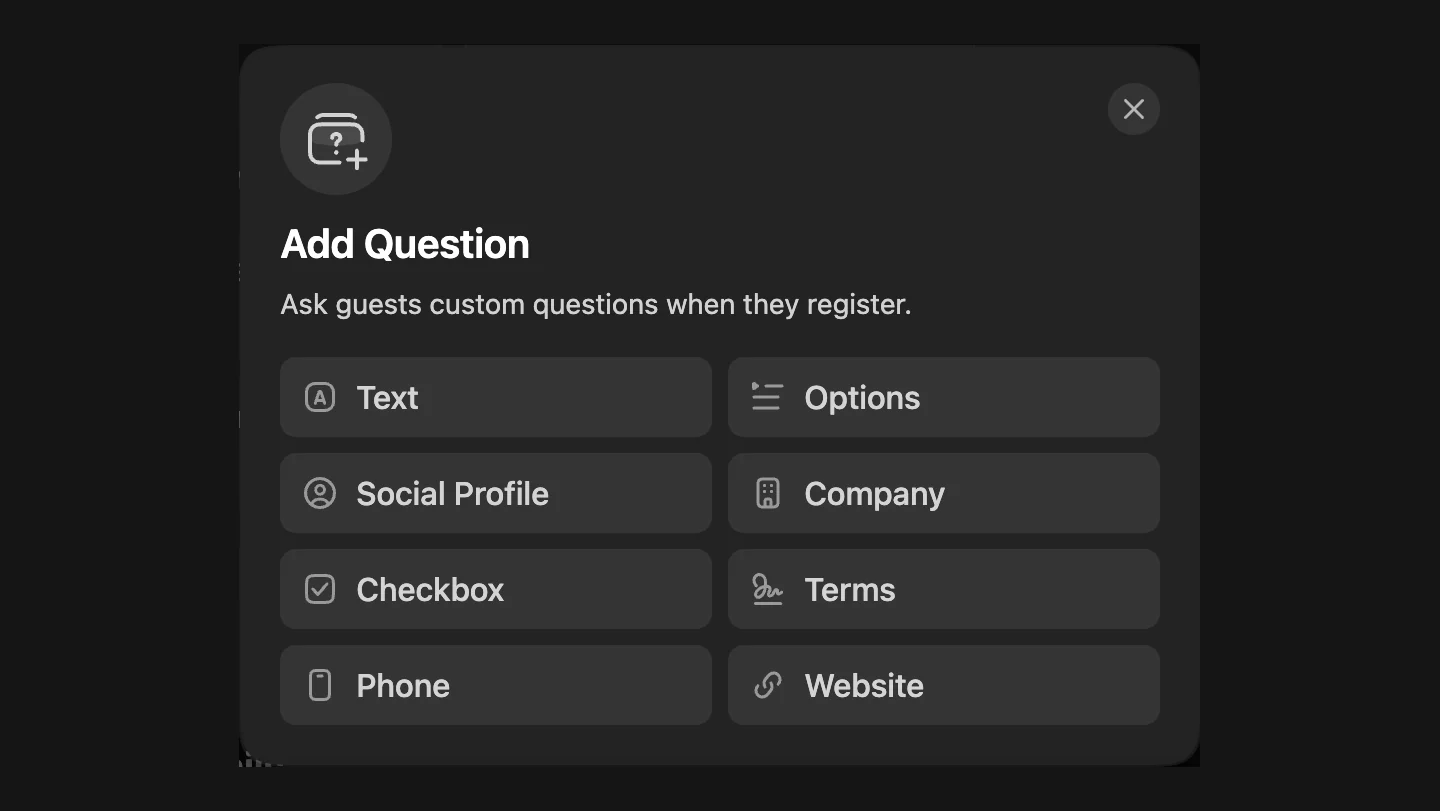
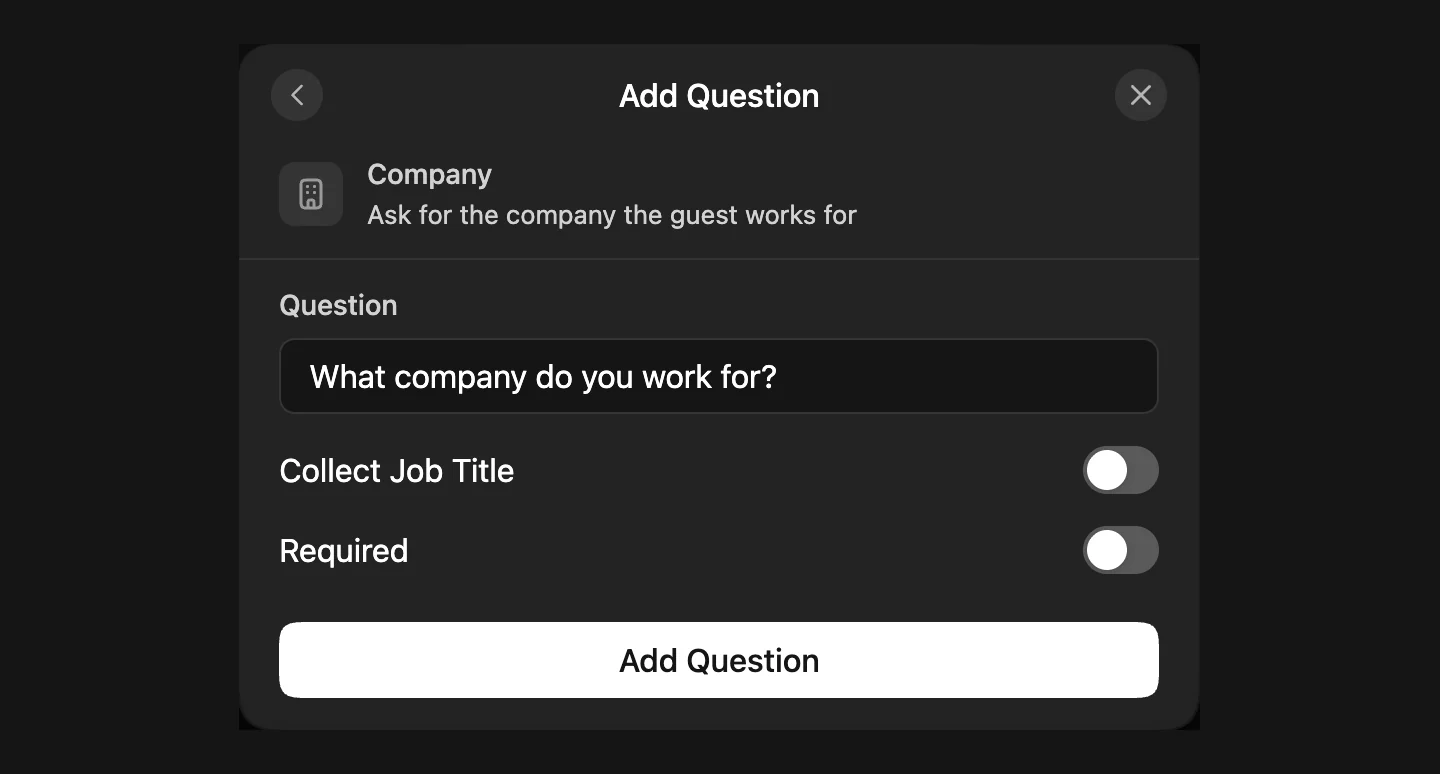
Choose Company. Its default wording is "What company do you work for?". Then switch on Collect Job Title. It is off by default, and it is the setting most hosts miss: without it, badges come out with a company but no job title.
Add a Social Profile question set to LinkedIn as well. That link can go into each badge's QR code, so anyone who scans it gets the person's profile along with their contact.
Avoid one combined question. A single Text question like "Current Designation and Company" puts both answers in one cell, such as "Product Designer, Acme Labs". It still prints, but as one line that cannot be split. Two separate answers look cleaner and let the job title and company sit on their own lines.
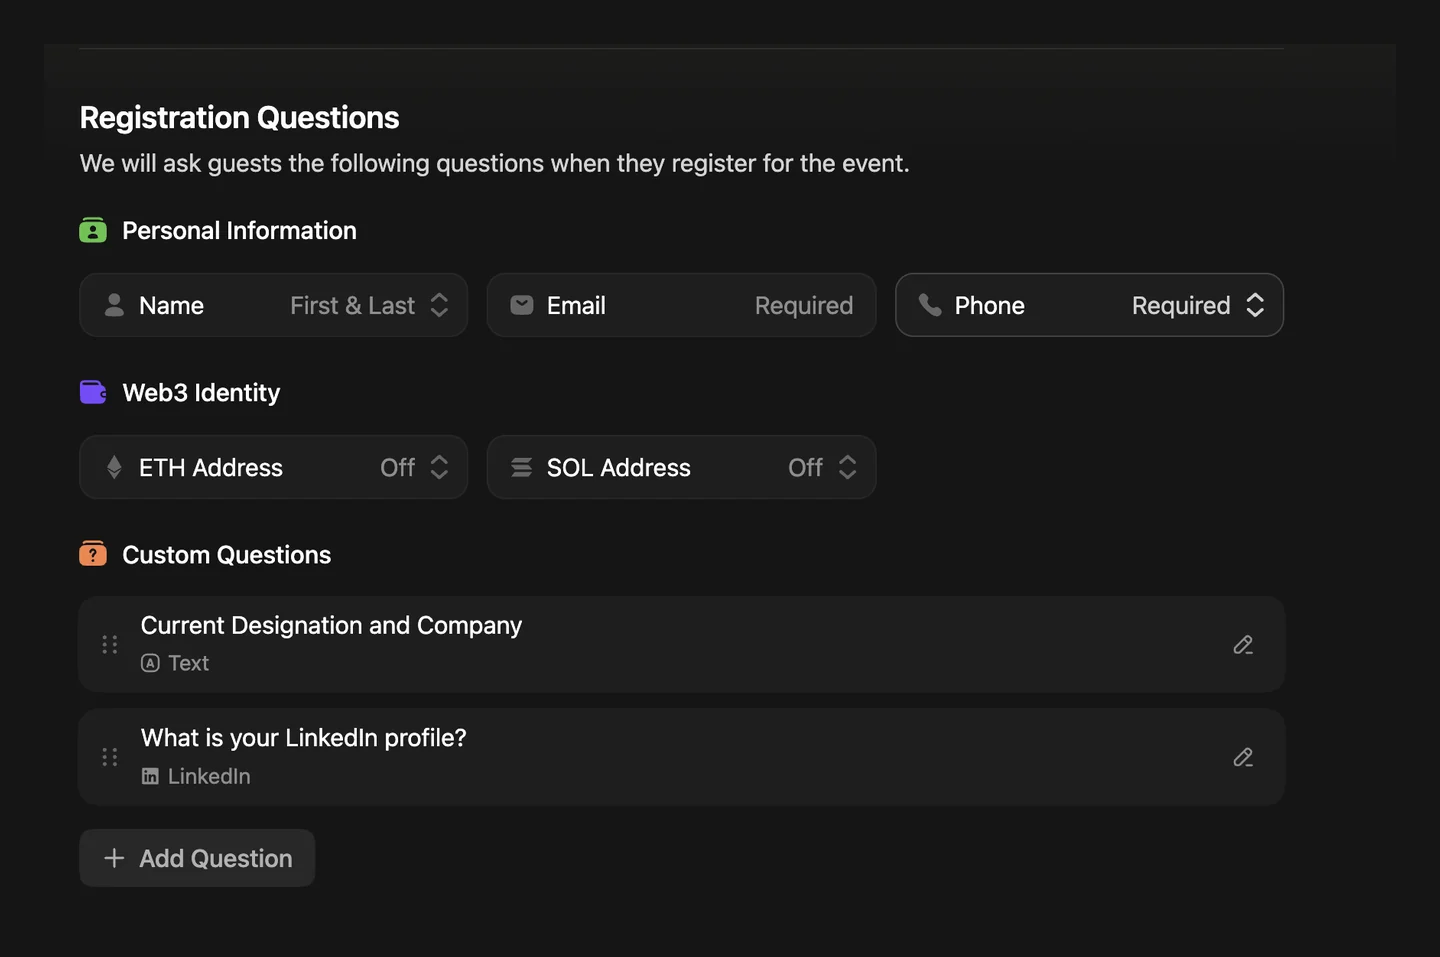
Each question becomes its own column in the guest CSV, headed by the question's wording. Only questions that are still active are exported, so do not delete a question until you have downloaded the list.
Download your Luma guest list as a CSV
1. Open the Guests tab
Go to your event's Manage page and select the Guests tab.
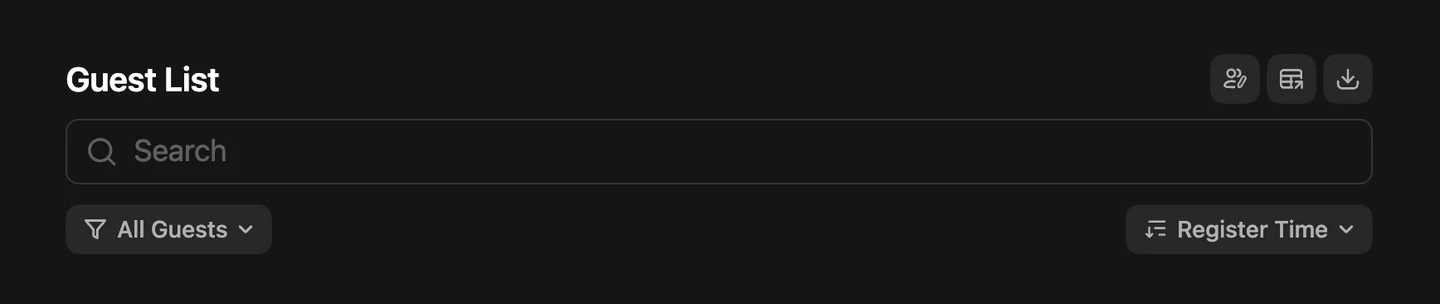
2. Filter to guests who are going
The list mixes everyone Luma knows about: guests who are Going, people you Invited who have not registered, and guests marked Not Going. Open the All Guests filter and choose Going so only confirmed guests get a badge.
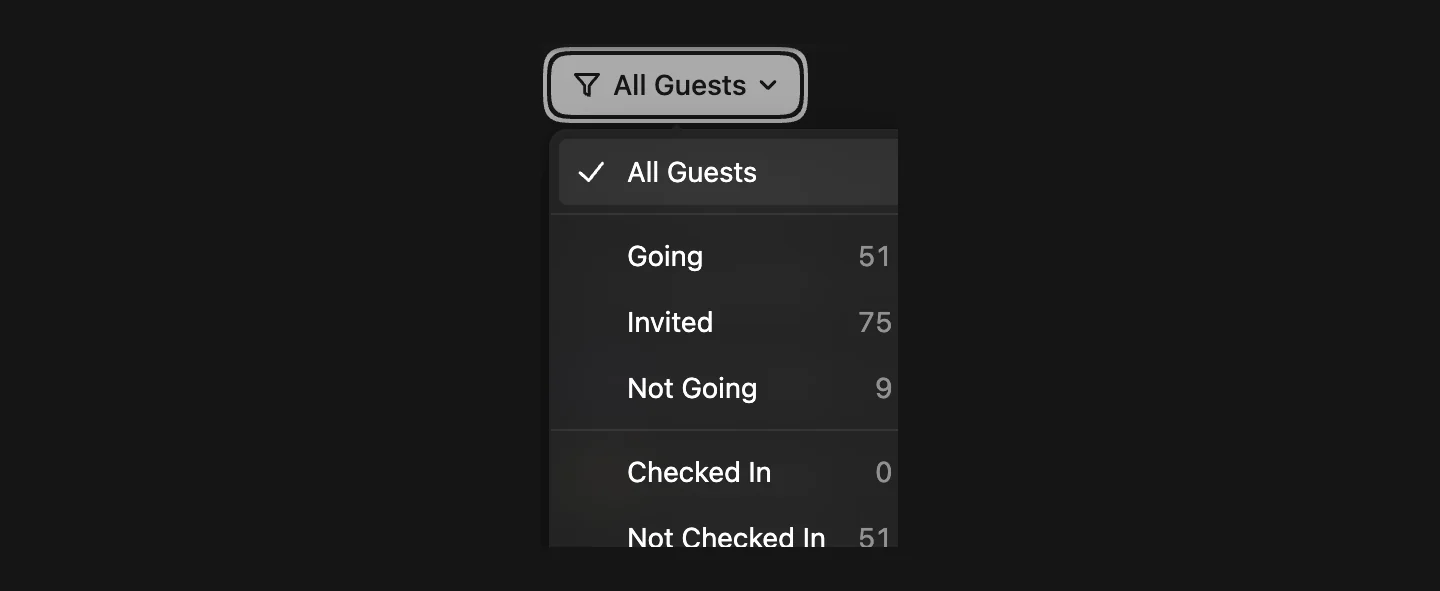
3. Download the CSV
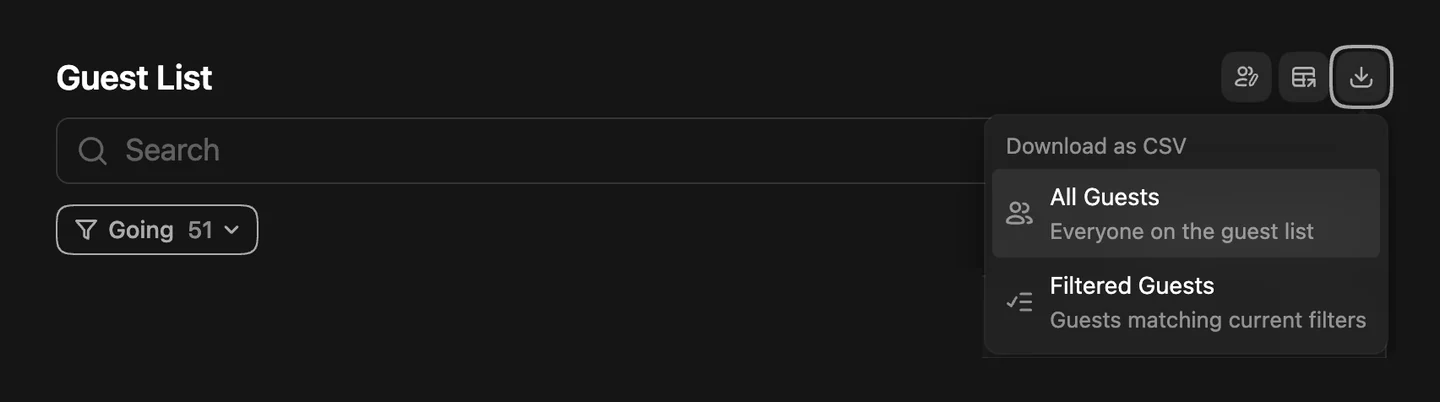
Select the download icon at the top right of the guest list. Under Download as CSV, choose Filtered Guests ("Guests matching current filters"). All Guests would include invited and not-going people too. The file downloads straight to your computer.
Upload the CSV and match Luma's columns
4. Upload the file
Open the Event Badge Maker, select Create event badges, and drop the Luma CSV into Upload attendee list. It is read in your browser, so the guest list is not sent anywhere.
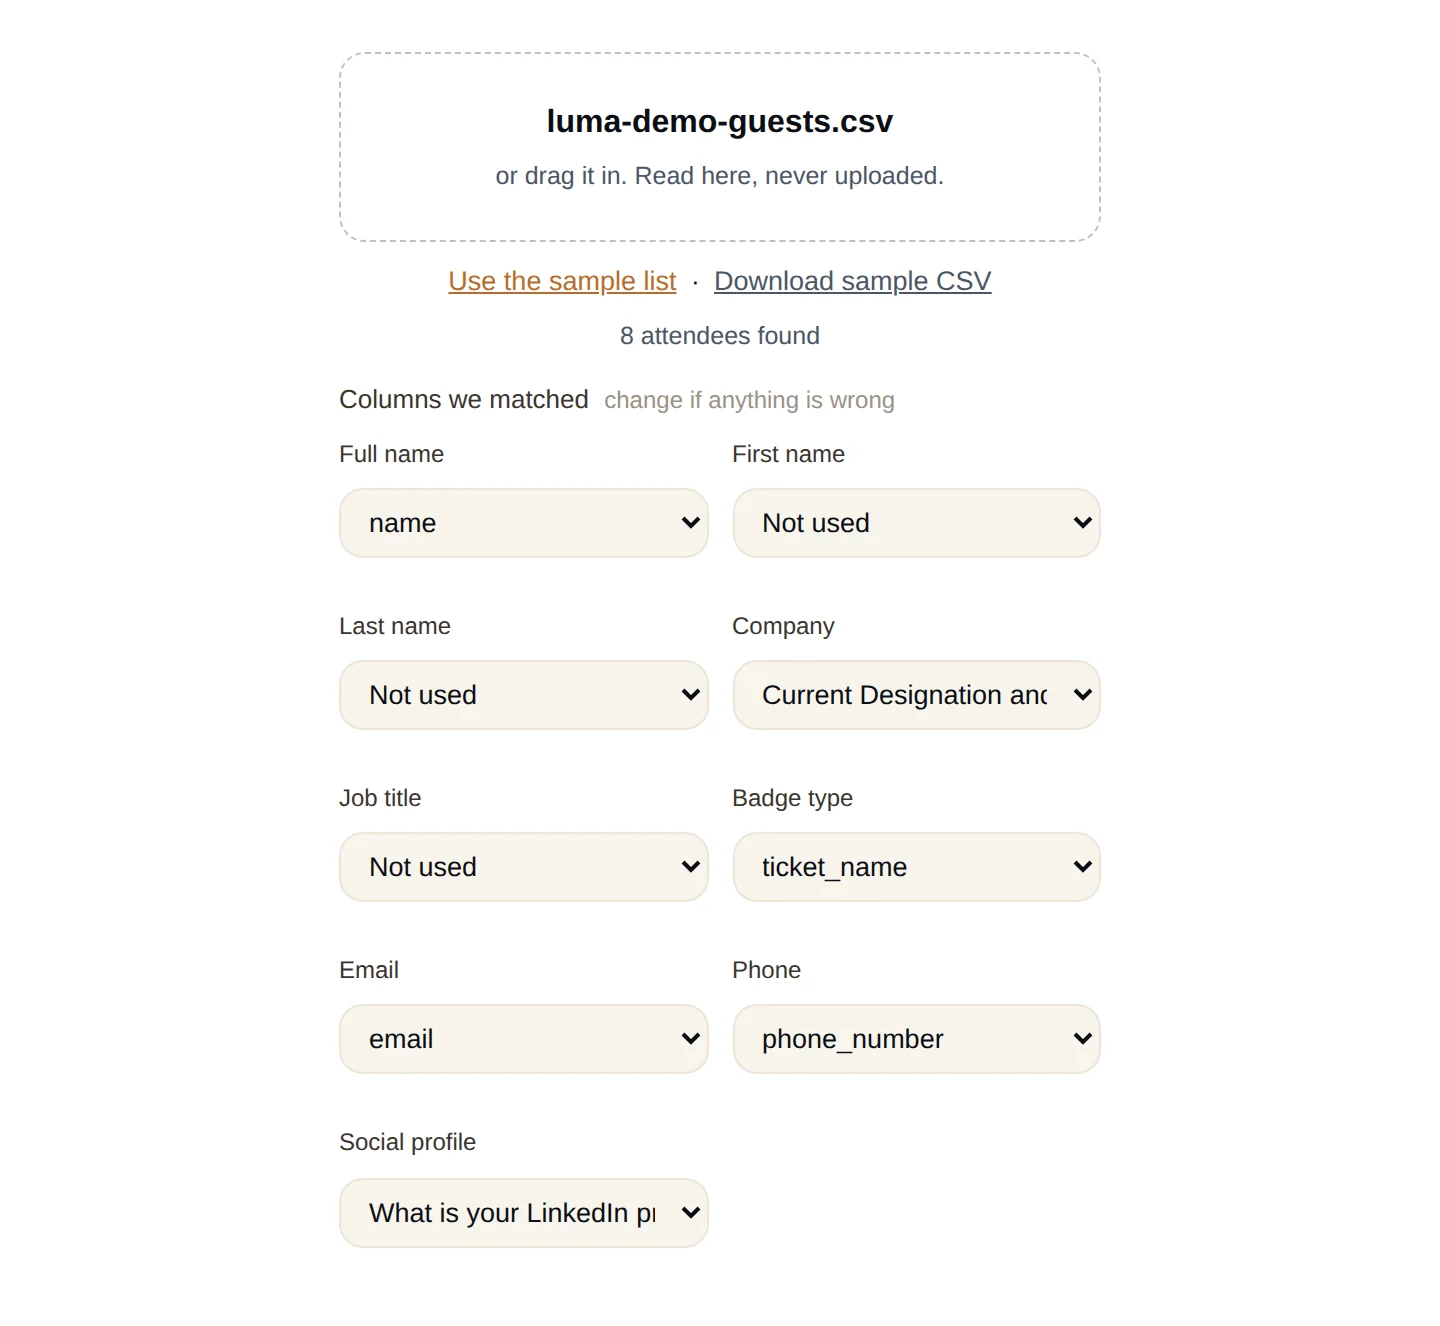
5. Check the column matches
A Luma export has 37 or more columns, most of them tracking data like utm_source and linkedin_click_id. The Badge Maker skips those and matches the ones a badge needs, including your registration-question columns. Look over each dropdown before you continue.
| Luma column | Badge field | Notes |
|---|---|---|
| name | Full name | Luma also exports first_name and last_name. The full name is used when present. |
| ticket_name | Badge type | Not ticket_type_id, which holds an internal ID like evtticktyp-…. |
| Company question | Company | Headed by your question's wording, "What company do you work for?" by default. |
| Job title answer | Job title | Appears when Collect Job Title is on. |
| A combined question, such as Current Designation and Company | Company or Job title | Prints as one line. Either field works. |
| phone_number | Phone | Only filled if you asked for it. Off in the QR by default. |
| LinkedIn question | Social profile | Optional, saved in the QR contact. |
Leave qr_code_url unmatched. That column is Luma's check-in code for the door. The QR on these badges saves the guest's contact for other attendees, so the two do different jobs. Keep checking guests in with the Luma app as usual.
6. Design the badge once
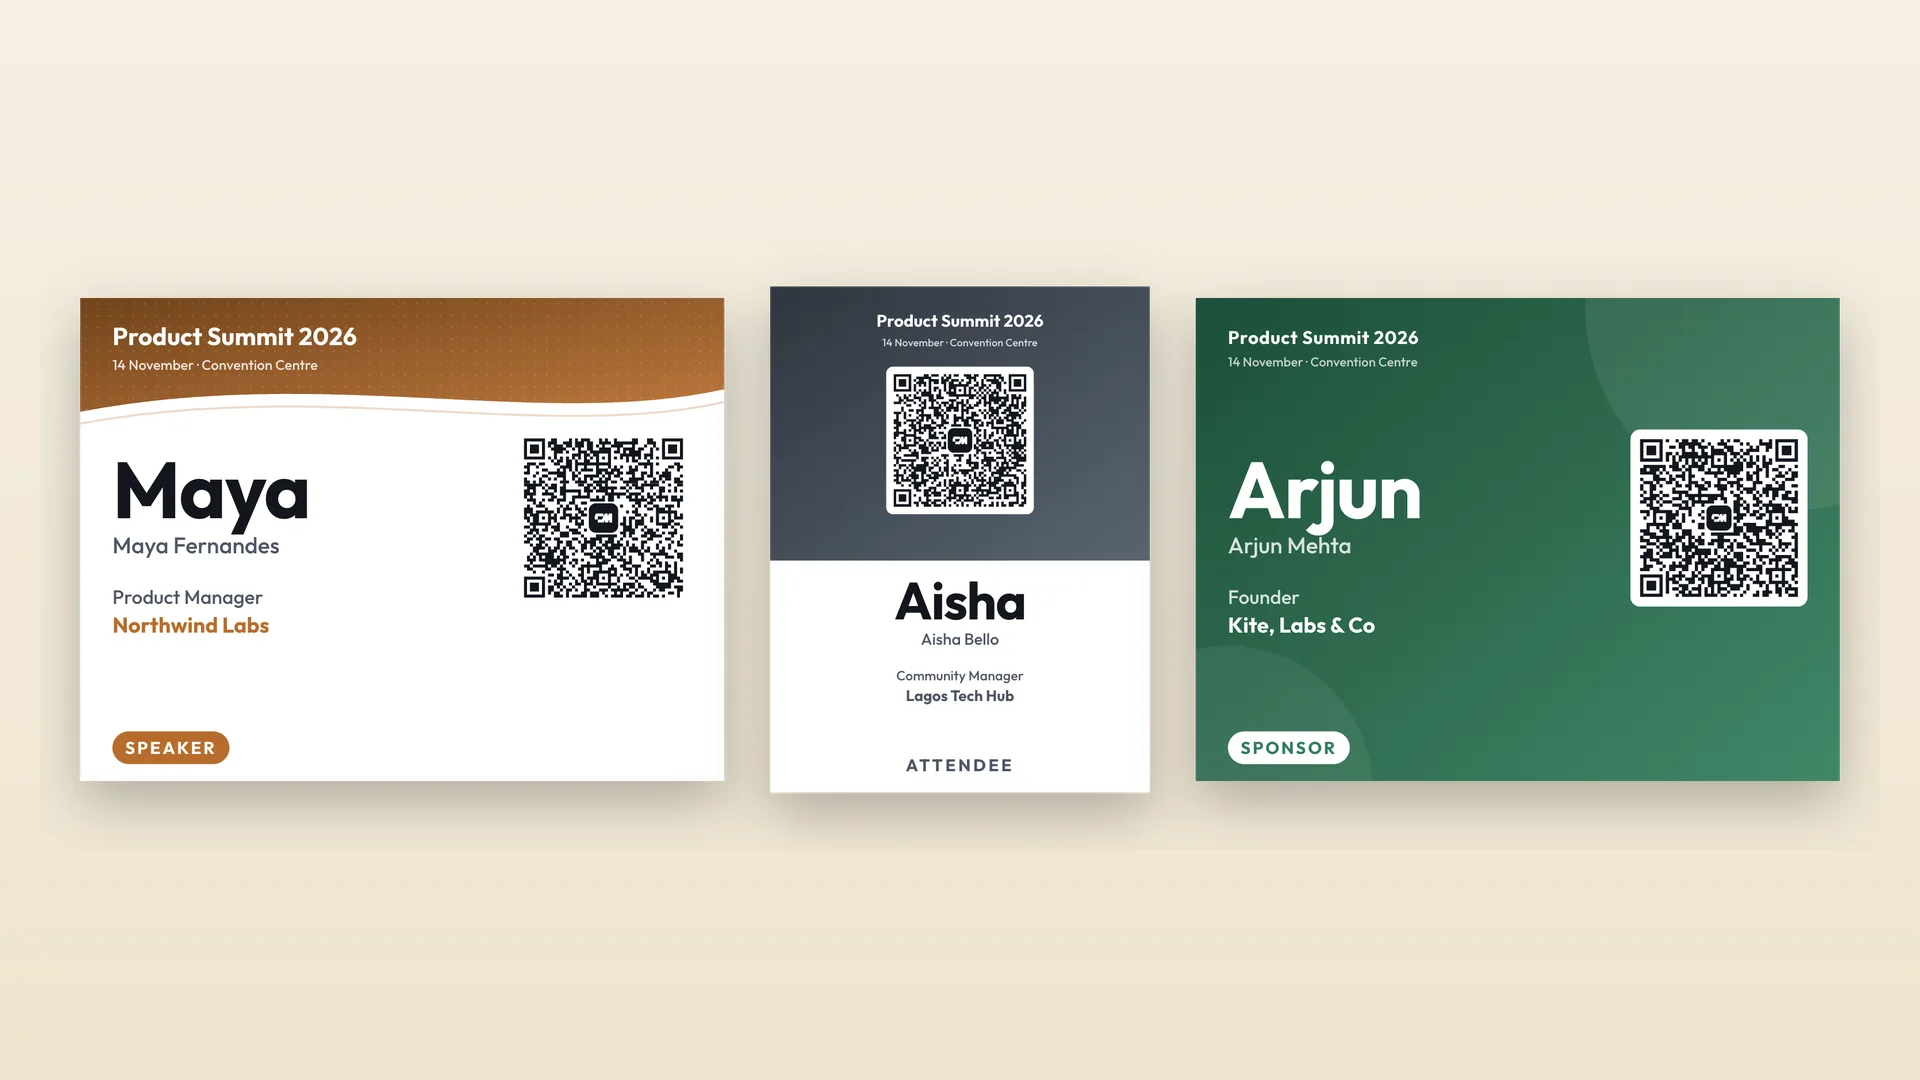
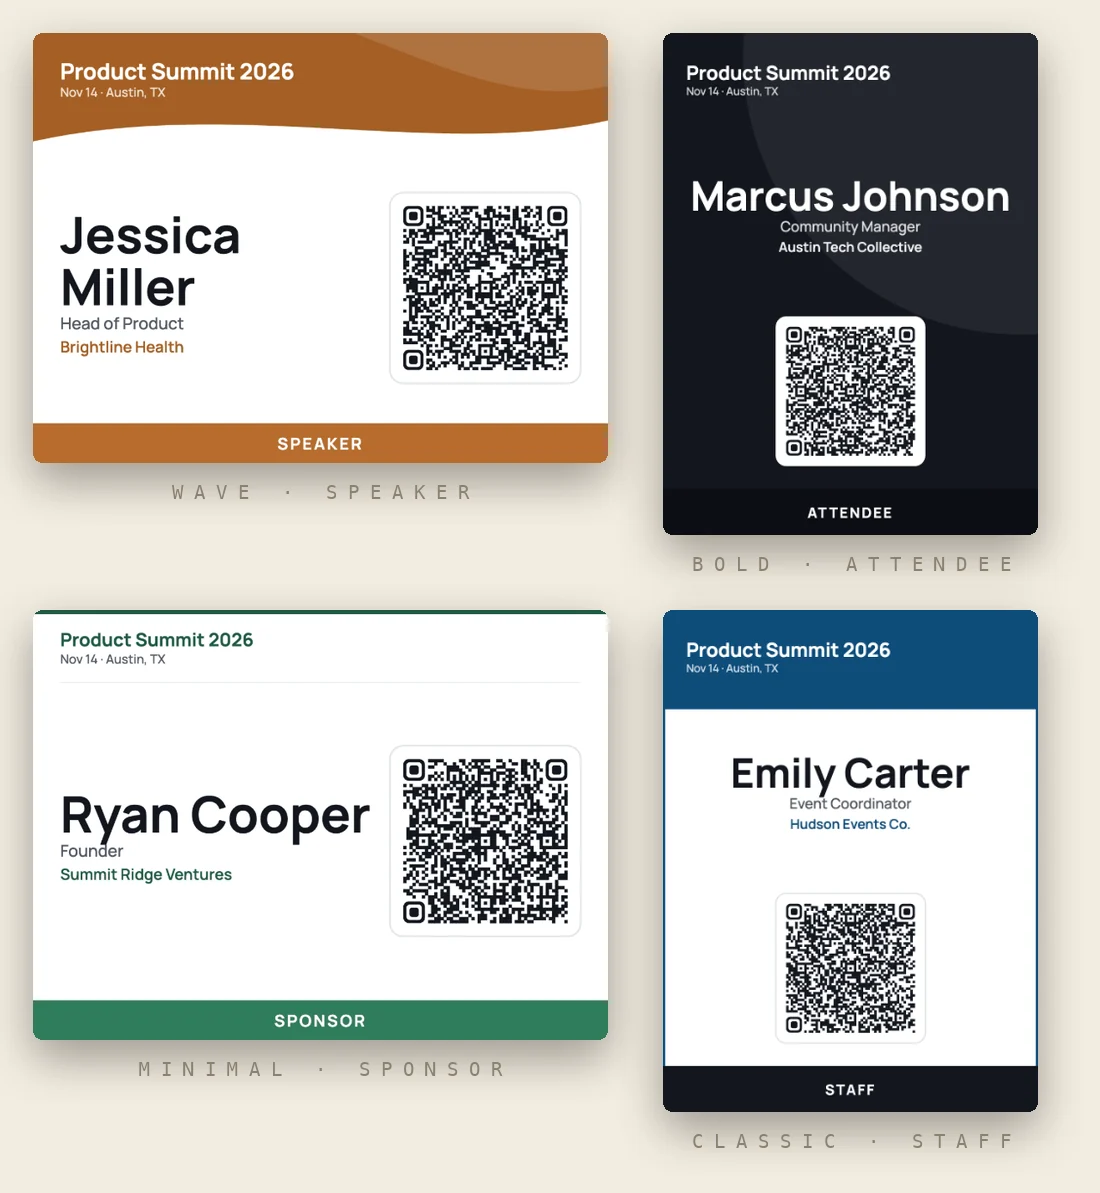
Add the event name, date and city, upload your logo and choose a template. The ticket_name value prints as the ribbon along the bottom, in its own colour for Speaker, Sponsor, Staff and other common types.
Print the badges
7. Print badges
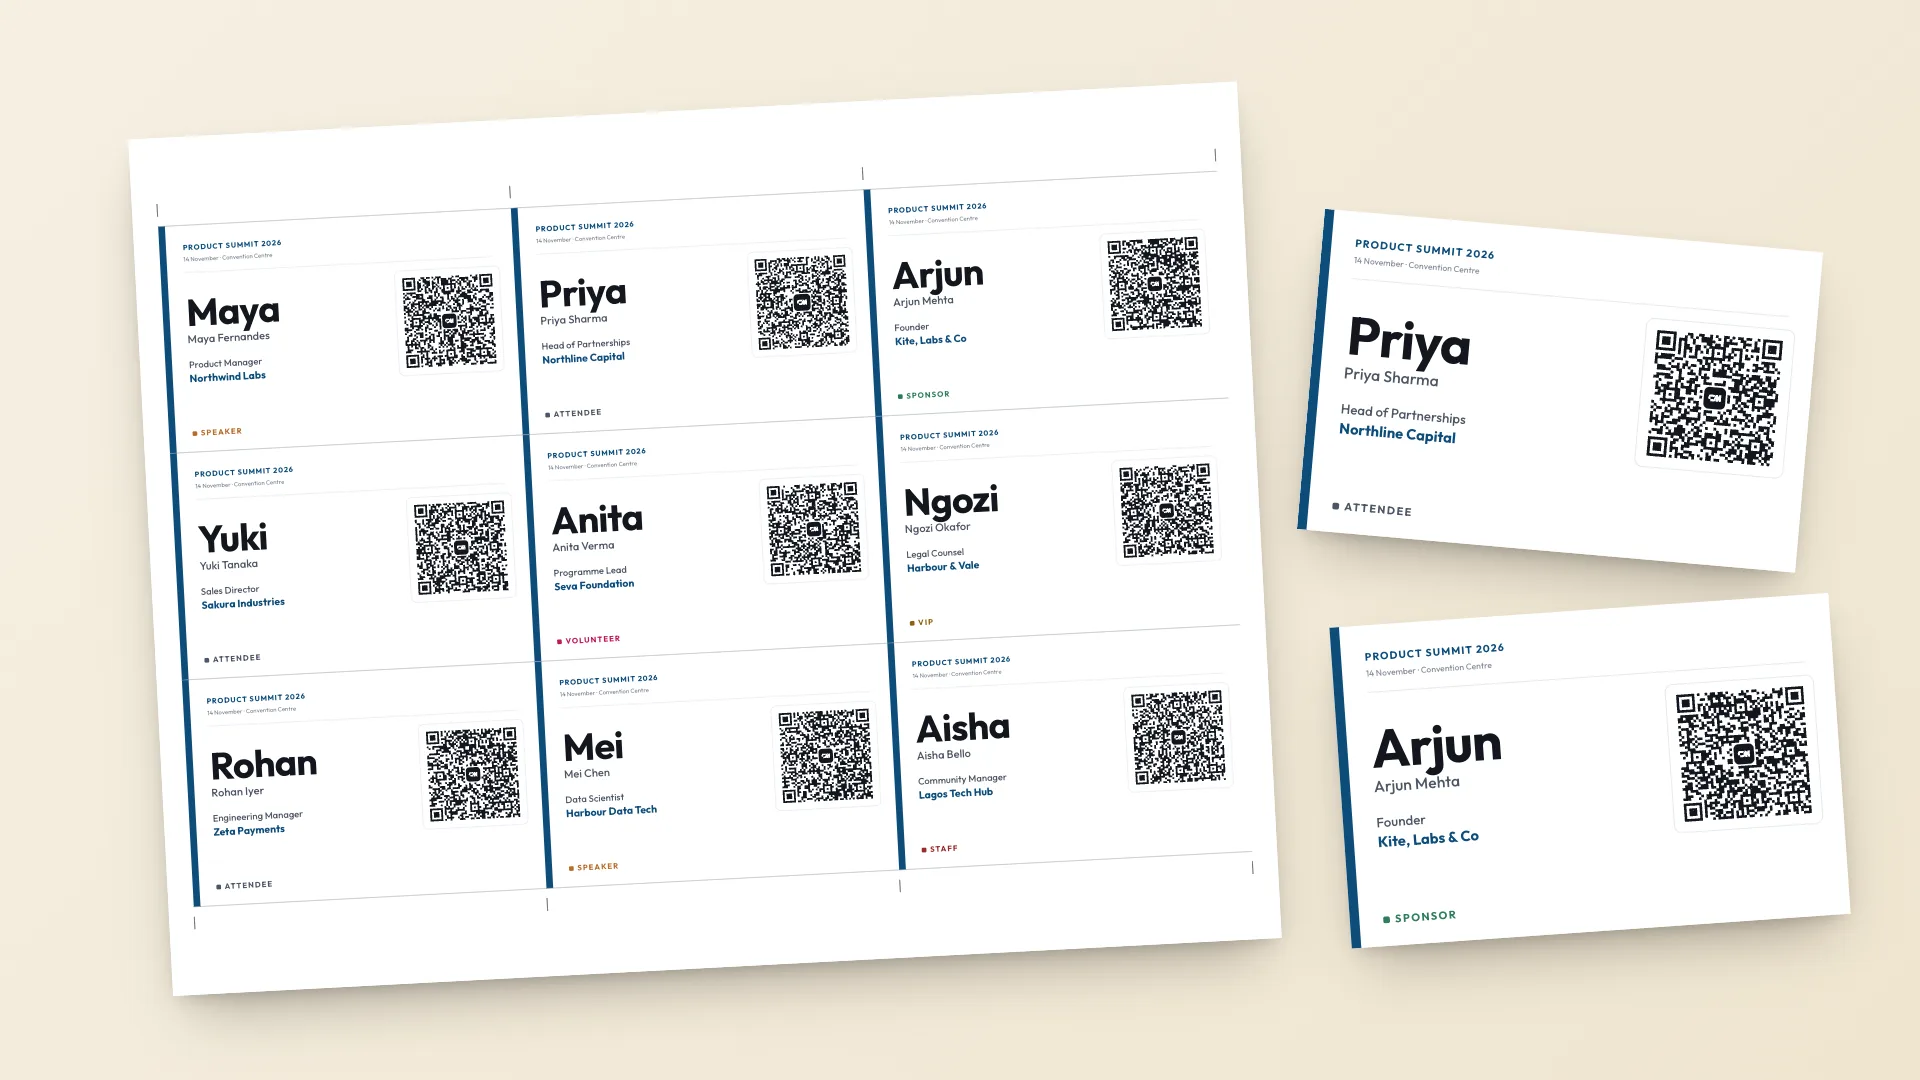
Select Create badges, then Print badges. Turn off "fit to page" and print at 100% so each badge comes out at its real size. Print a single test sheet first and scan one QR code with your phone.
Luma exports that need a quick fix
Group registration repeats a name.
When one person registers several tickets, Luma lists that guest once per ticket. Delete the extra rows in a spreadsheet, or replace them with the names of the people who are coming.
Some guests have no company.
They registered before you added the question. Their badge leaves that line out, so there is no need to fill it in.
Guests approved later.
If you approve more people after printing, download again with the Going filter and print only the new names.
A question is missing from the CSV.
Luma only exports questions that are still on the event. If you removed one, its answers are not in the file.