
The short version
- In Eventbrite, open your event and select Attendees report on the dashboard (or Reporting › Event reports › Attendees).
- Select Export, choose CSV, then download the file from the Exports tab.
- Upload the CSV to the Event Badge Maker and confirm the column matches.
- Add your event name and logo, pick a template, then select Print badges.
Make sure Eventbrite is collecting what the badge needs
A badge only shows what your attendee list holds. Eventbrite's order form starts with just Name & Email, so job title and company are only in the export if you add them before people register.
Open your event, then Order Options › Order form. Two settings matter.
1. Collect info from each attendee. Eventbrite selects Ticket buyer (Recommended) by default. With that setting, someone who buys five tickets produces five rows with the buyer's name on all of them. Choose Each attendee instead.
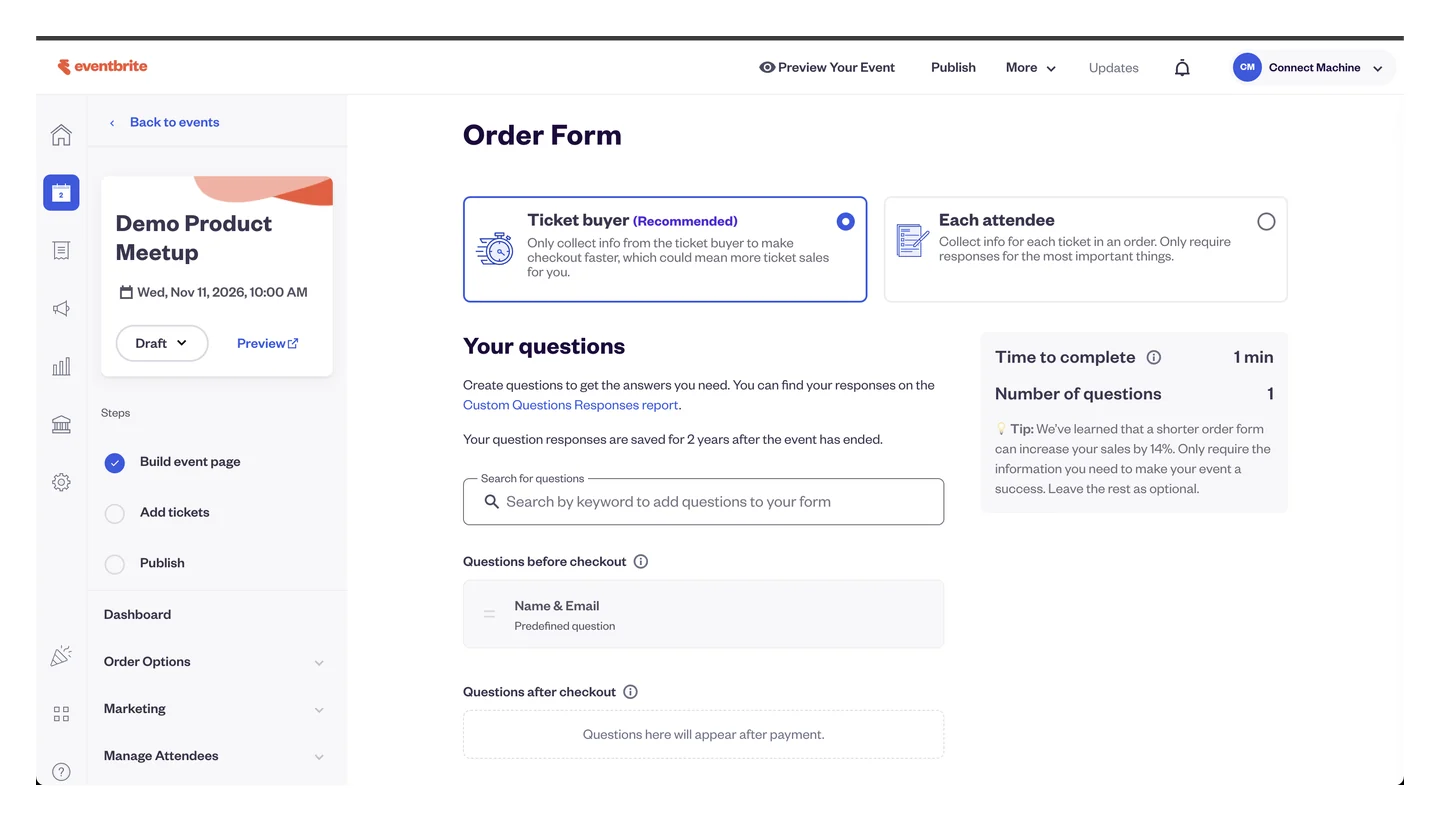
2. Add Job title and Company. In Search for questions, type "job" and add Job title, which is a predefined question. Company has no predefined question, so type "Company" and choose Add as a custom question. A custom question appears in the export under its own wording, so name it exactly Company.
Eventbrite may put new questions under Questions after checkout, which people answer after paying and often skip. Drag both into Questions before checkout and set them to Required.
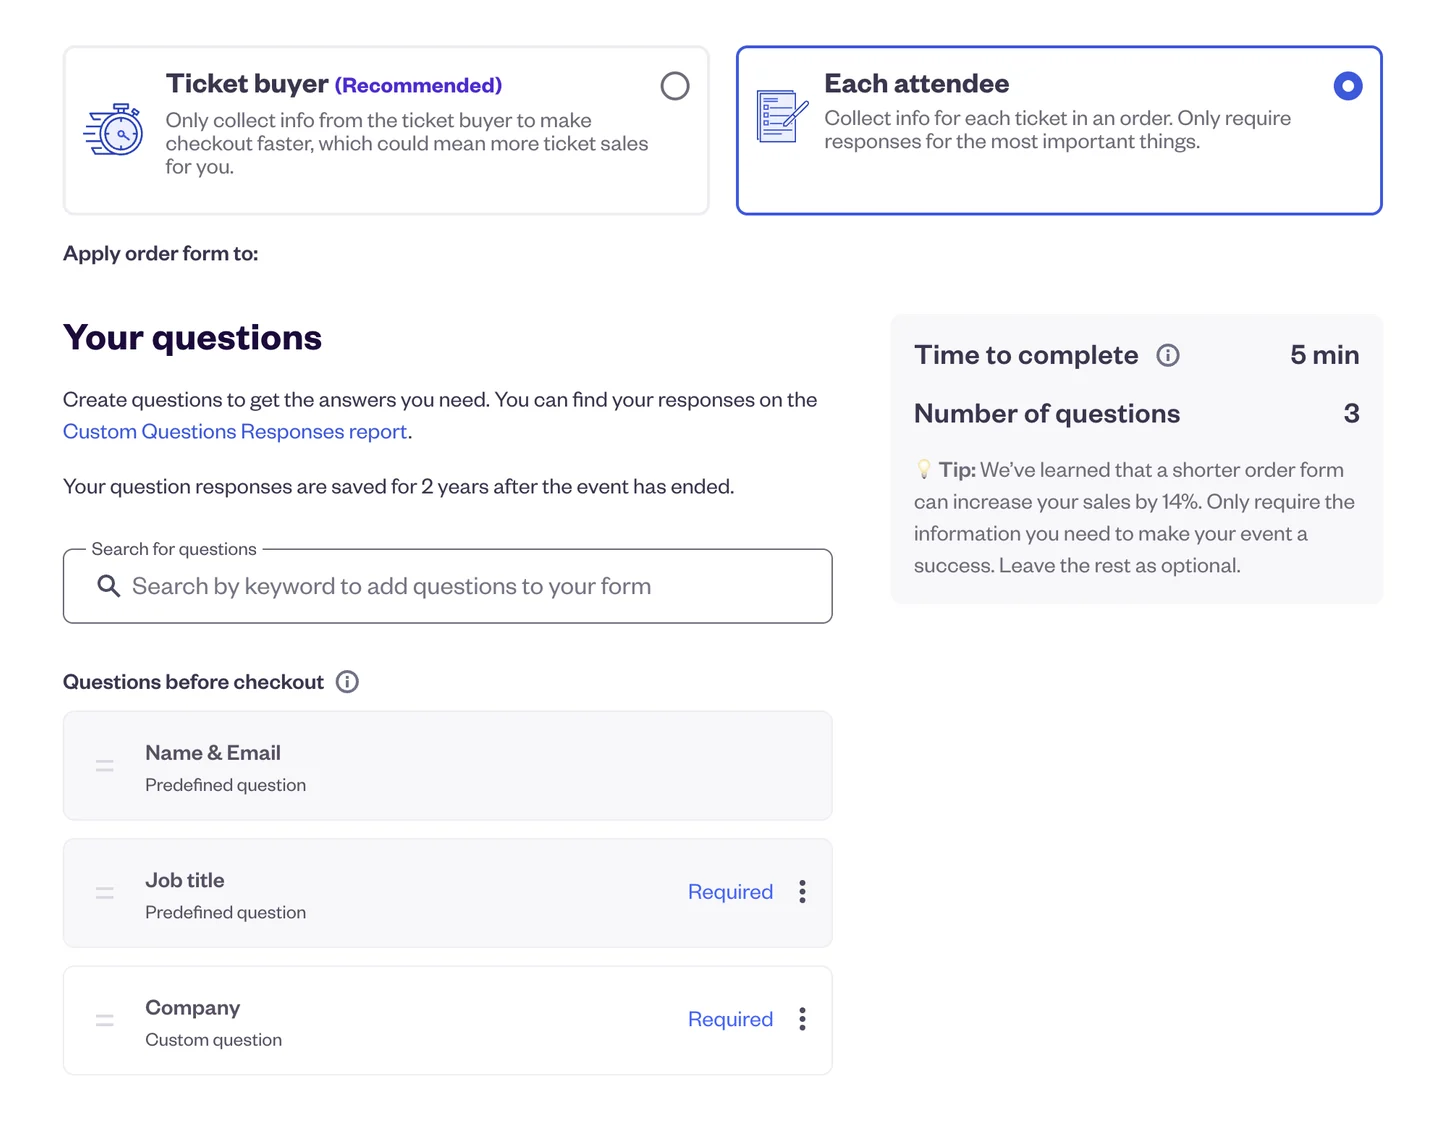
Already selling tickets? New questions only apply to new orders. Earlier attendees will have a blank job title or company, and their badge simply leaves that line out.
Export your Eventbrite attendee list as a CSV
Use the Attendees report. It has one row per ticket holder. The Orders report has one row per purchase, so a group booking would become a single badge.
1. Open your event dashboard
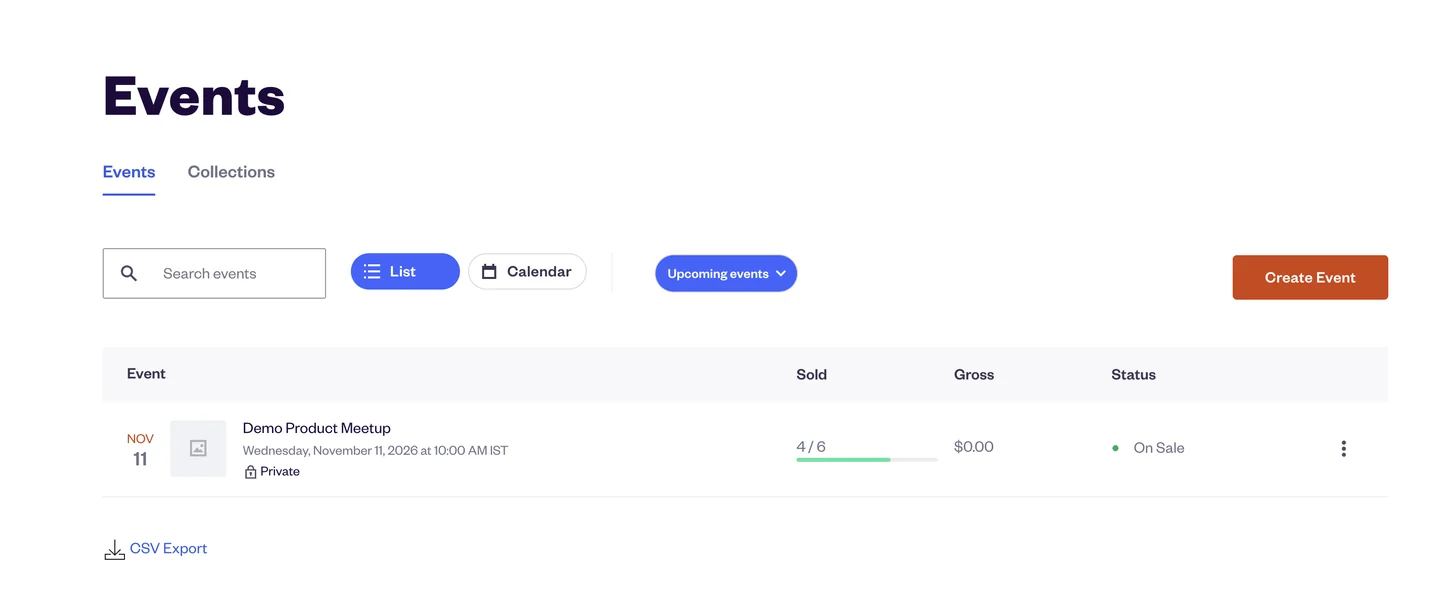
Log in to Eventbrite, go to Events and select the event you are printing badges for.
2. Open the Attendees report
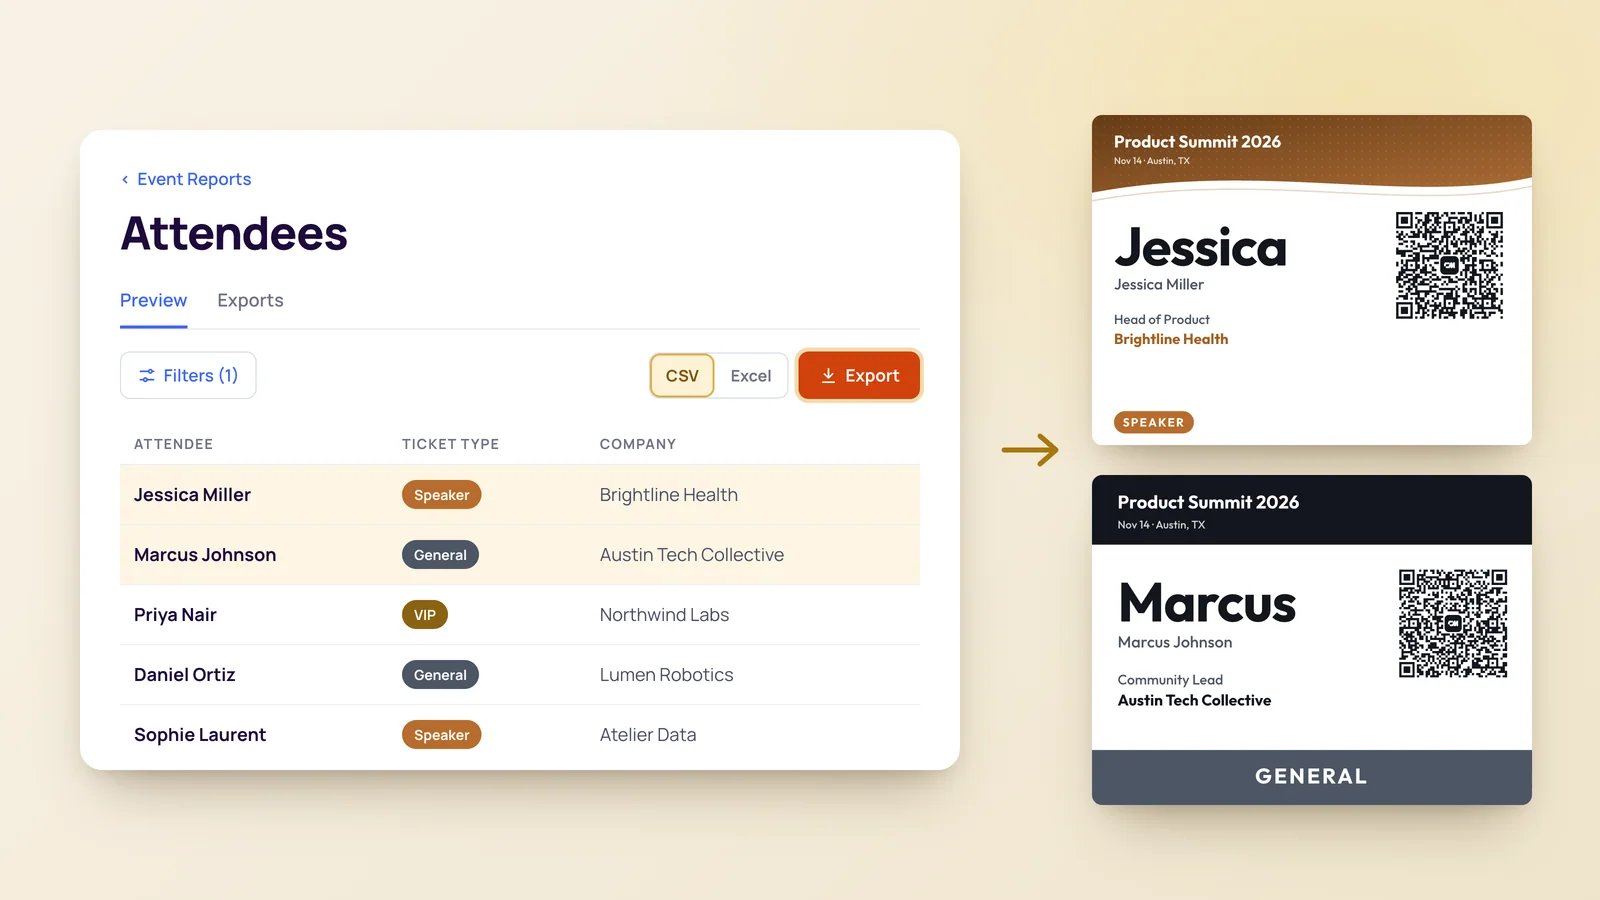
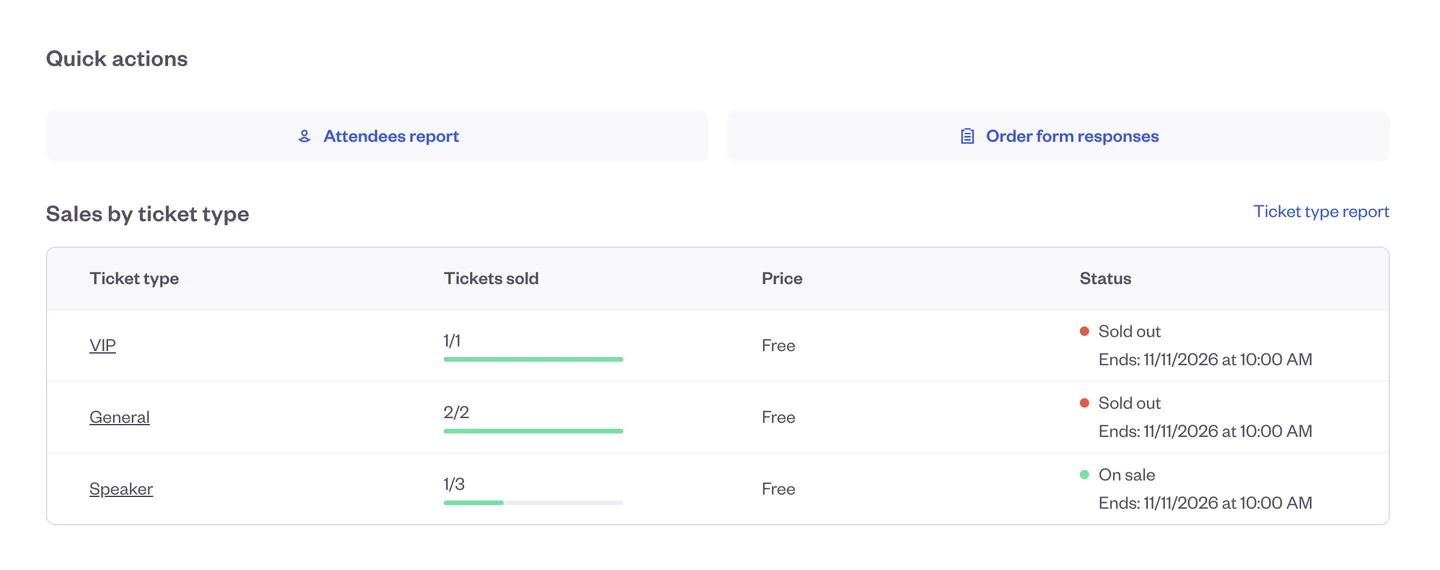
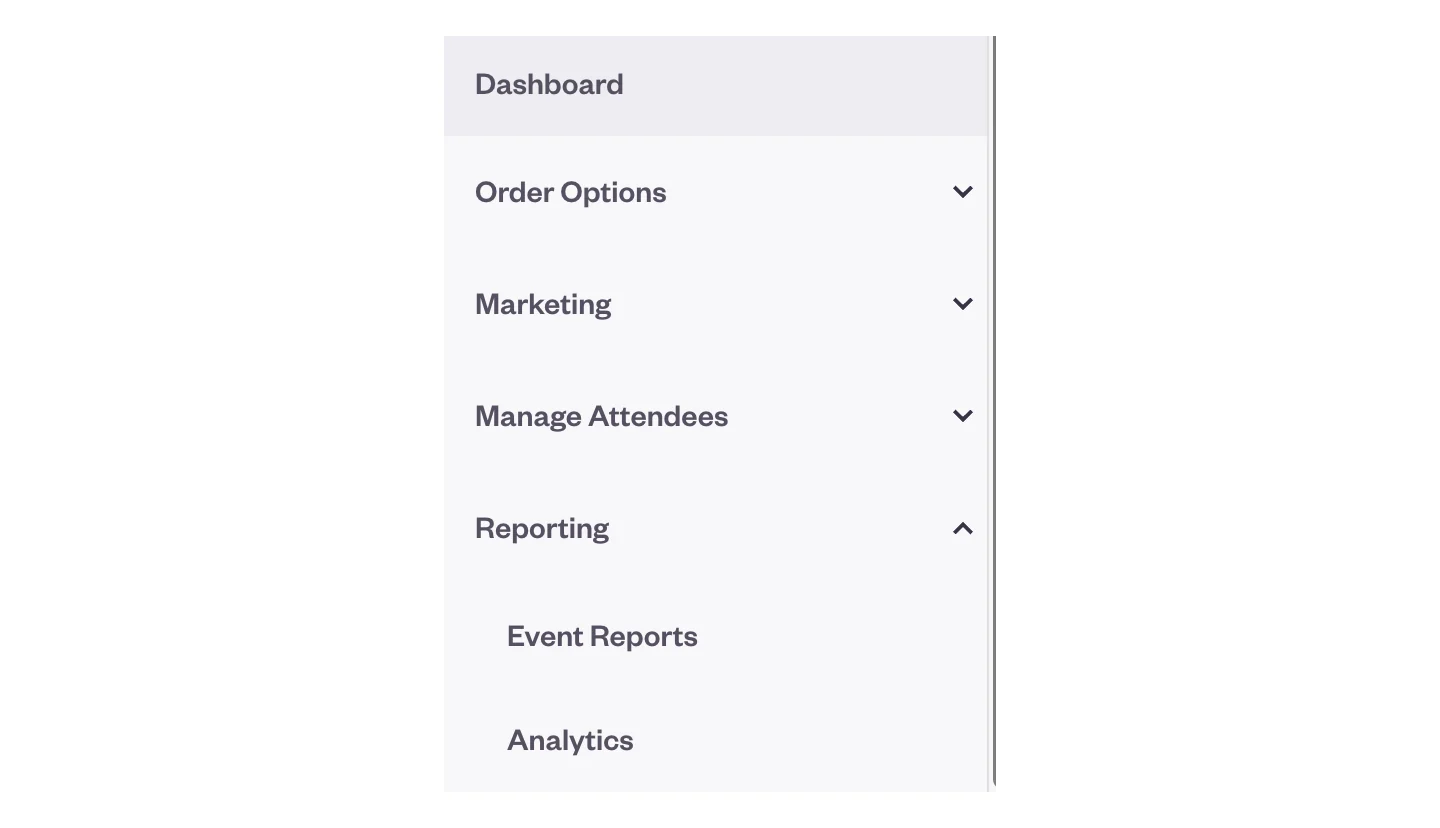
The quickest way is the Attendees report button under Quick actions on the event dashboard. You can also go to Reporting in the event's left menu, then Event reports, and choose Attendees.
3. Check the filters
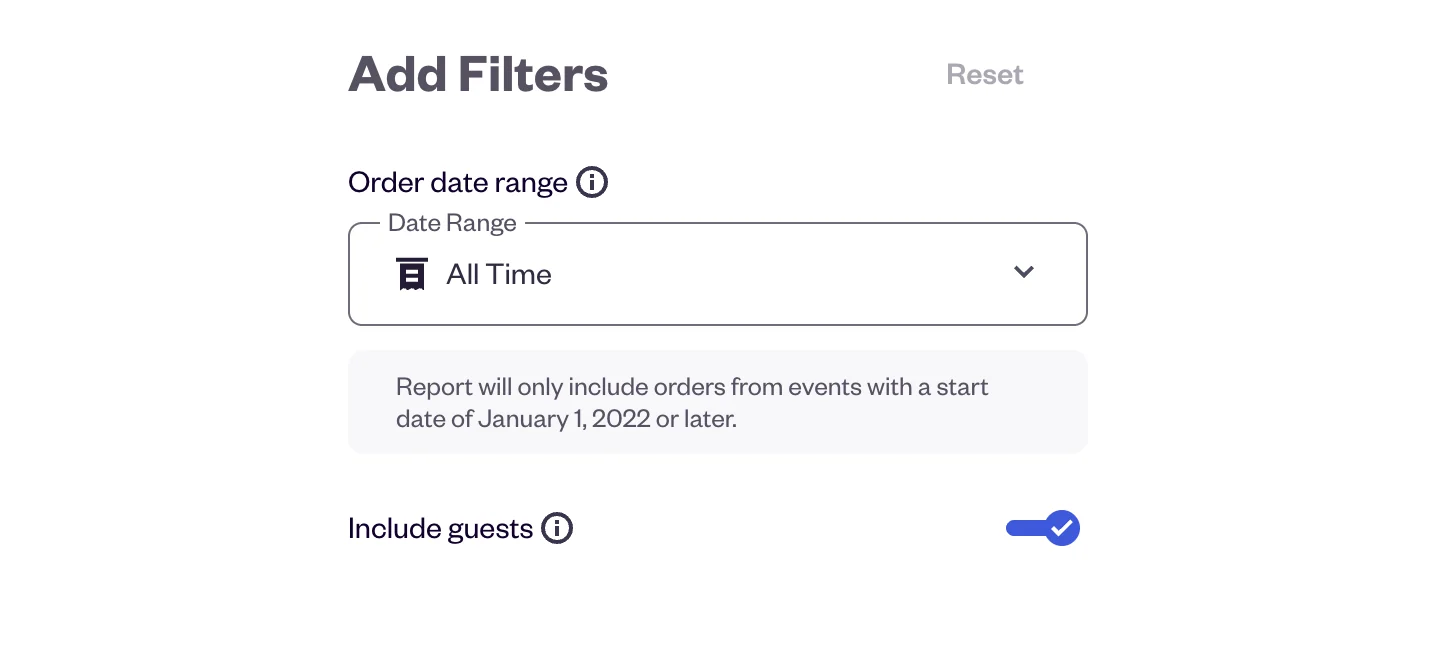
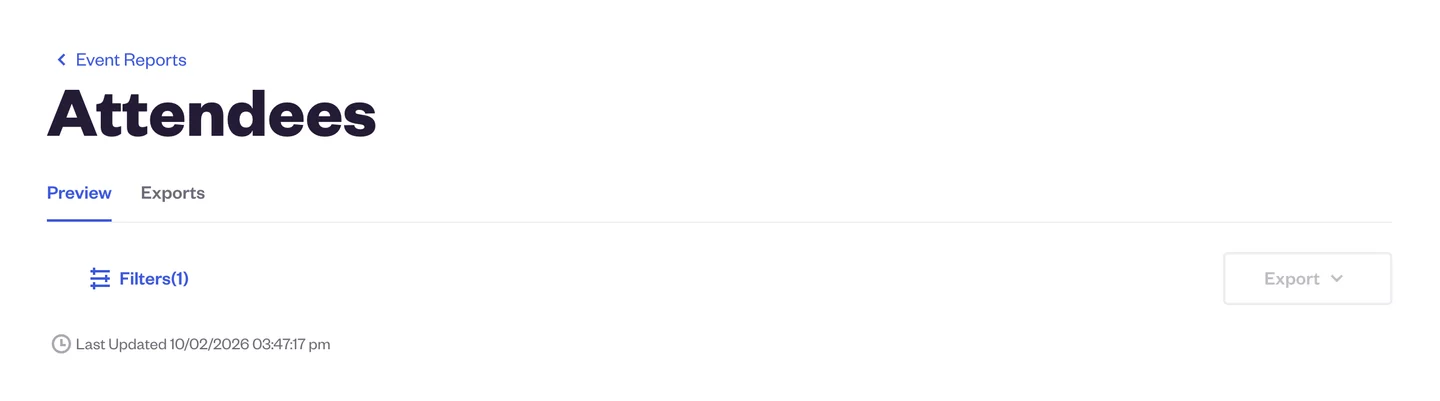
The report has two tabs, Preview and Exports. Under Filters, set Order date range to All Time so nobody who booked early is left out, and keep Include guests on so complimentary attendees you added yourself get a badge too. Select Run report.
If you only just sold your first tickets, the report may say "Data will appear once you sell your first ticket". Eventbrite updates reports on a delay, so wait a few minutes and refresh.
4. Export as CSV and download it
Select Export at the top right of the report and choose CSV. Eventbrite prepares the file and puts it in the Exports tab next to Preview. Download it from there. Excel (.xls) also works if you re-save it as CSV UTF-8, but CSV is one step shorter.
Upload the CSV and match the Eventbrite columns
5. Upload the file
Open the Event Badge Maker, select Create event badges, and drop the CSV into Upload attendee list. The file is read in your browser and is not uploaded to a server, so your attendee data stays on your computer.
6. Check the column matches
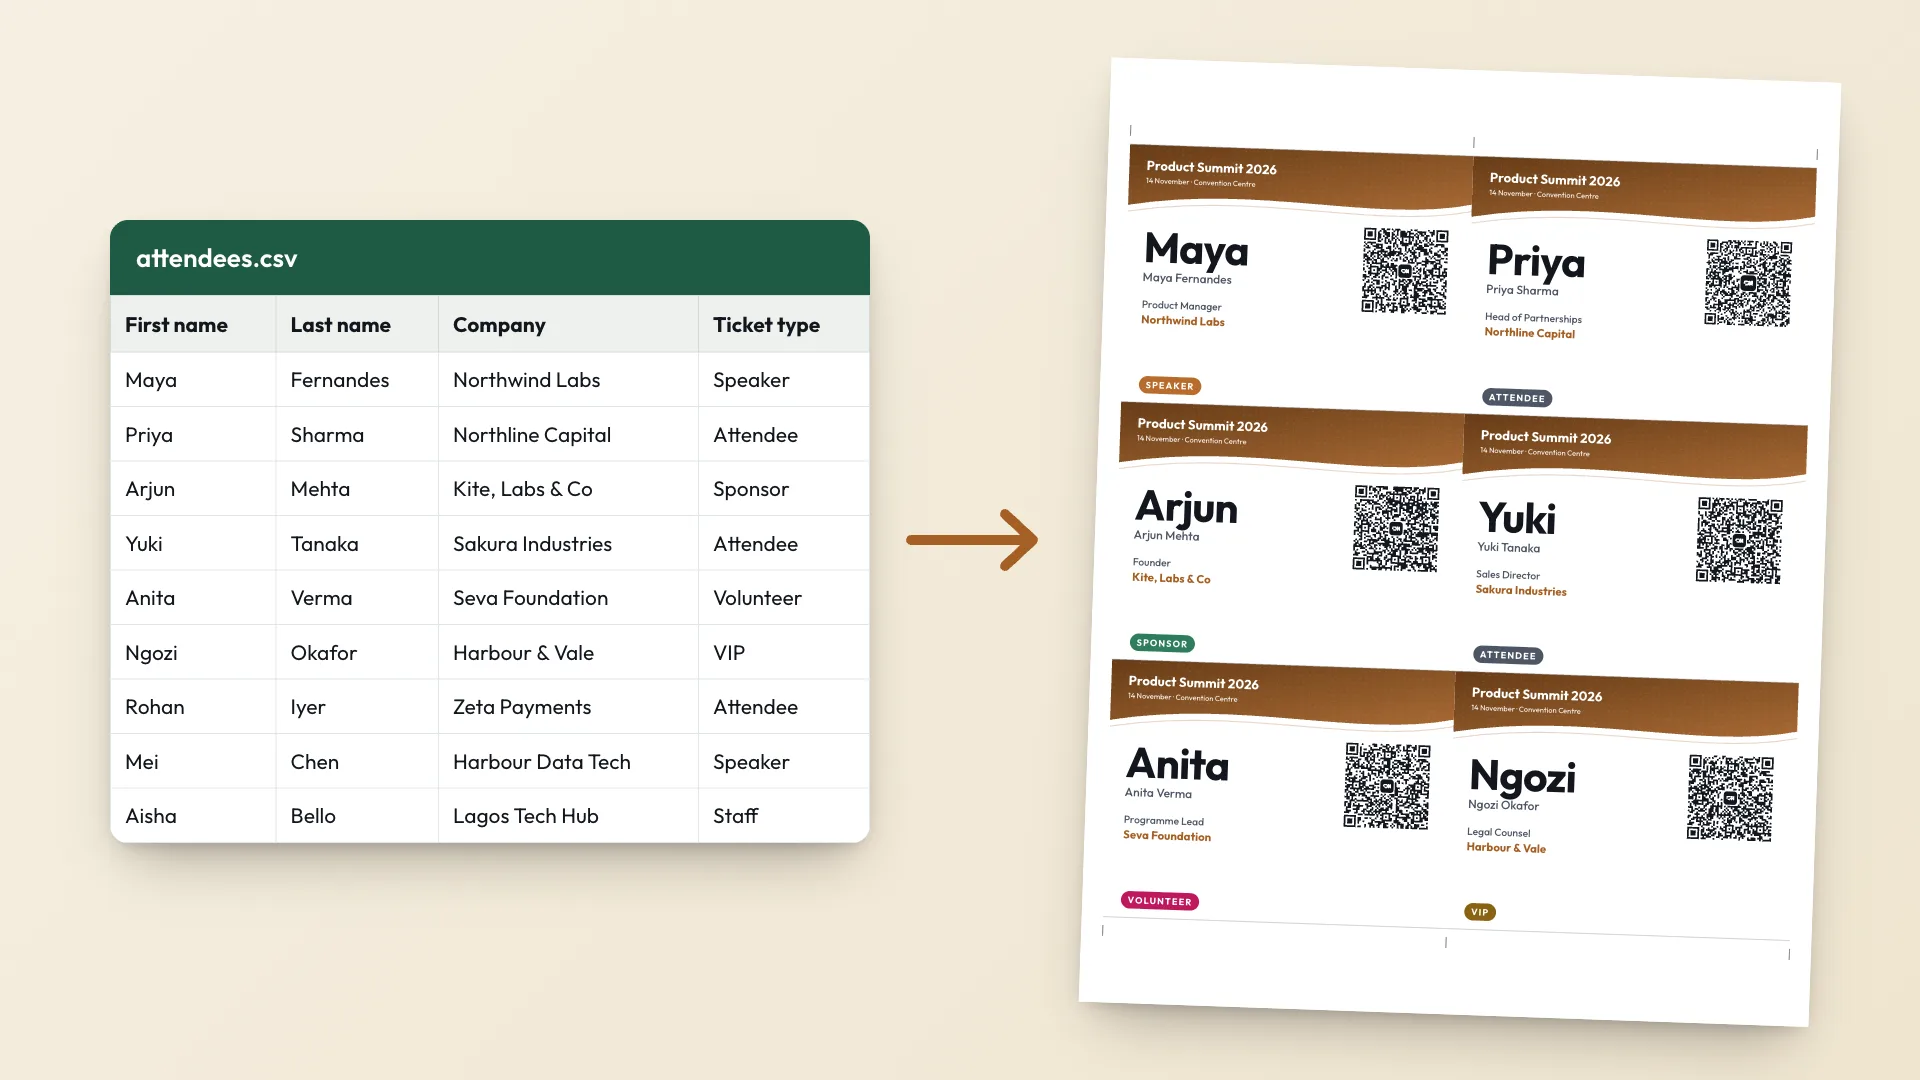
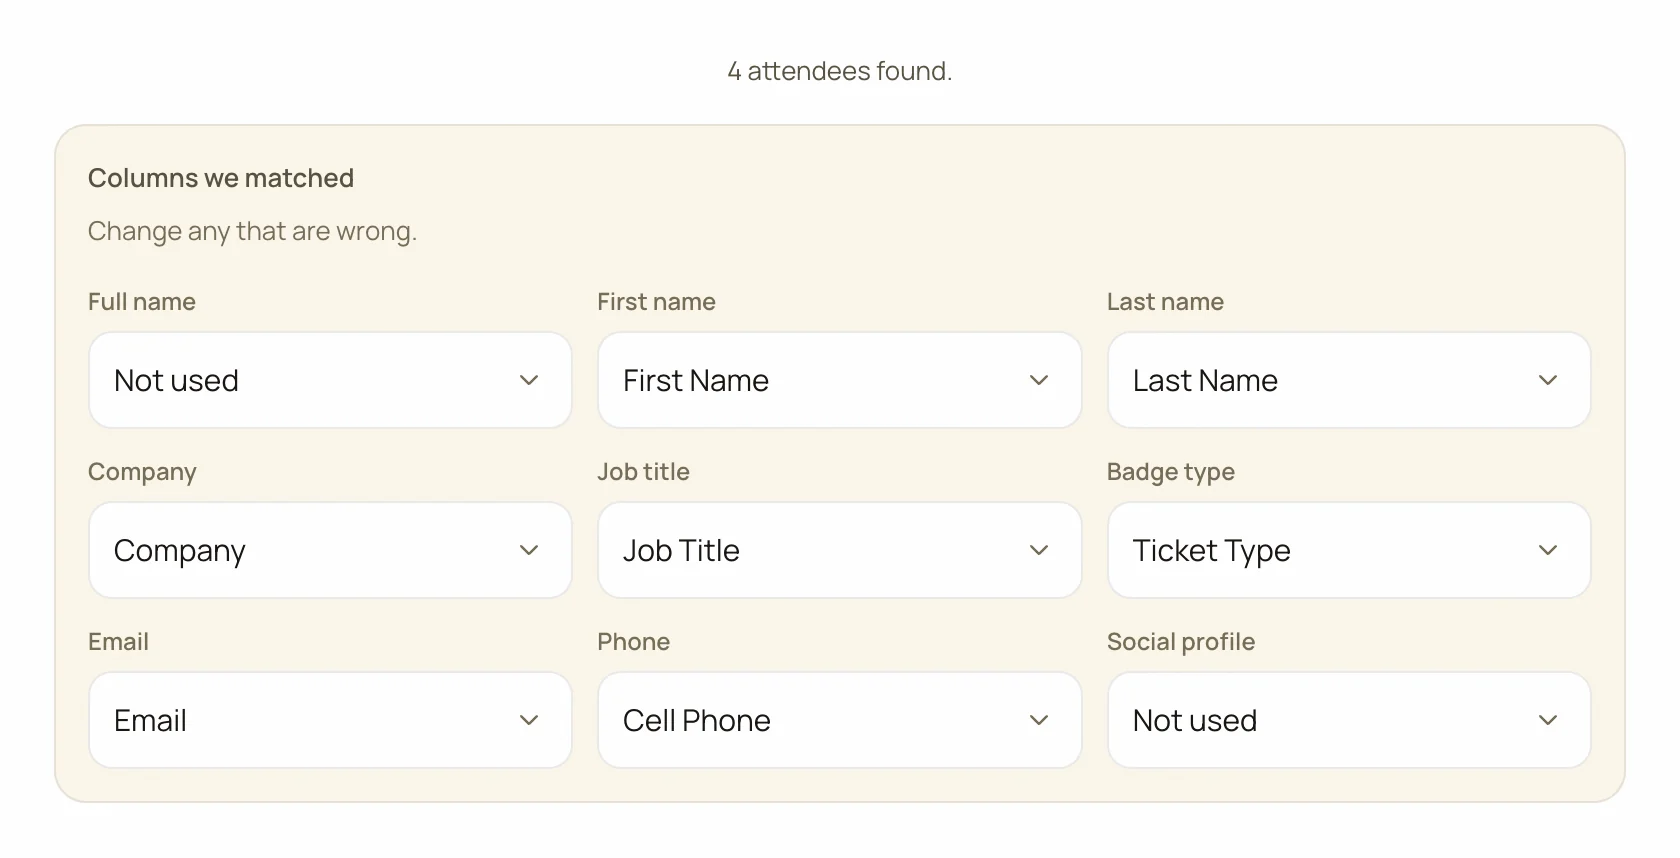
The Badge Maker recognises Eventbrite's headers, such as First Name, Last Name, Ticket Type, Job Title and Company, and skips order and fee columns. Check each dropdown under Columns we matched before going further.
| Eventbrite column | Badge field | Notes |
|---|---|---|
| First name + Last name | First name, Last name | Leave Full name on "Not used". The two are joined on the badge. |
| Ticket type | Badge type | Prints as the coloured ribbon, using your ticket names such as Speaker, VIP and General. |
| Job title | Job title | Only present if the order form asked for it. |
| Company | Company | Your custom question, headed by its wording. Name it Company when you add it. |
| If you also exported Buyer email, make sure the attendee's Email column is the one selected. | ||
| Cell phone | Phone | If you collected Home, Work and Cell phone, pick the one people should save. Phone is off in the QR by default. |
7. Design the badge once
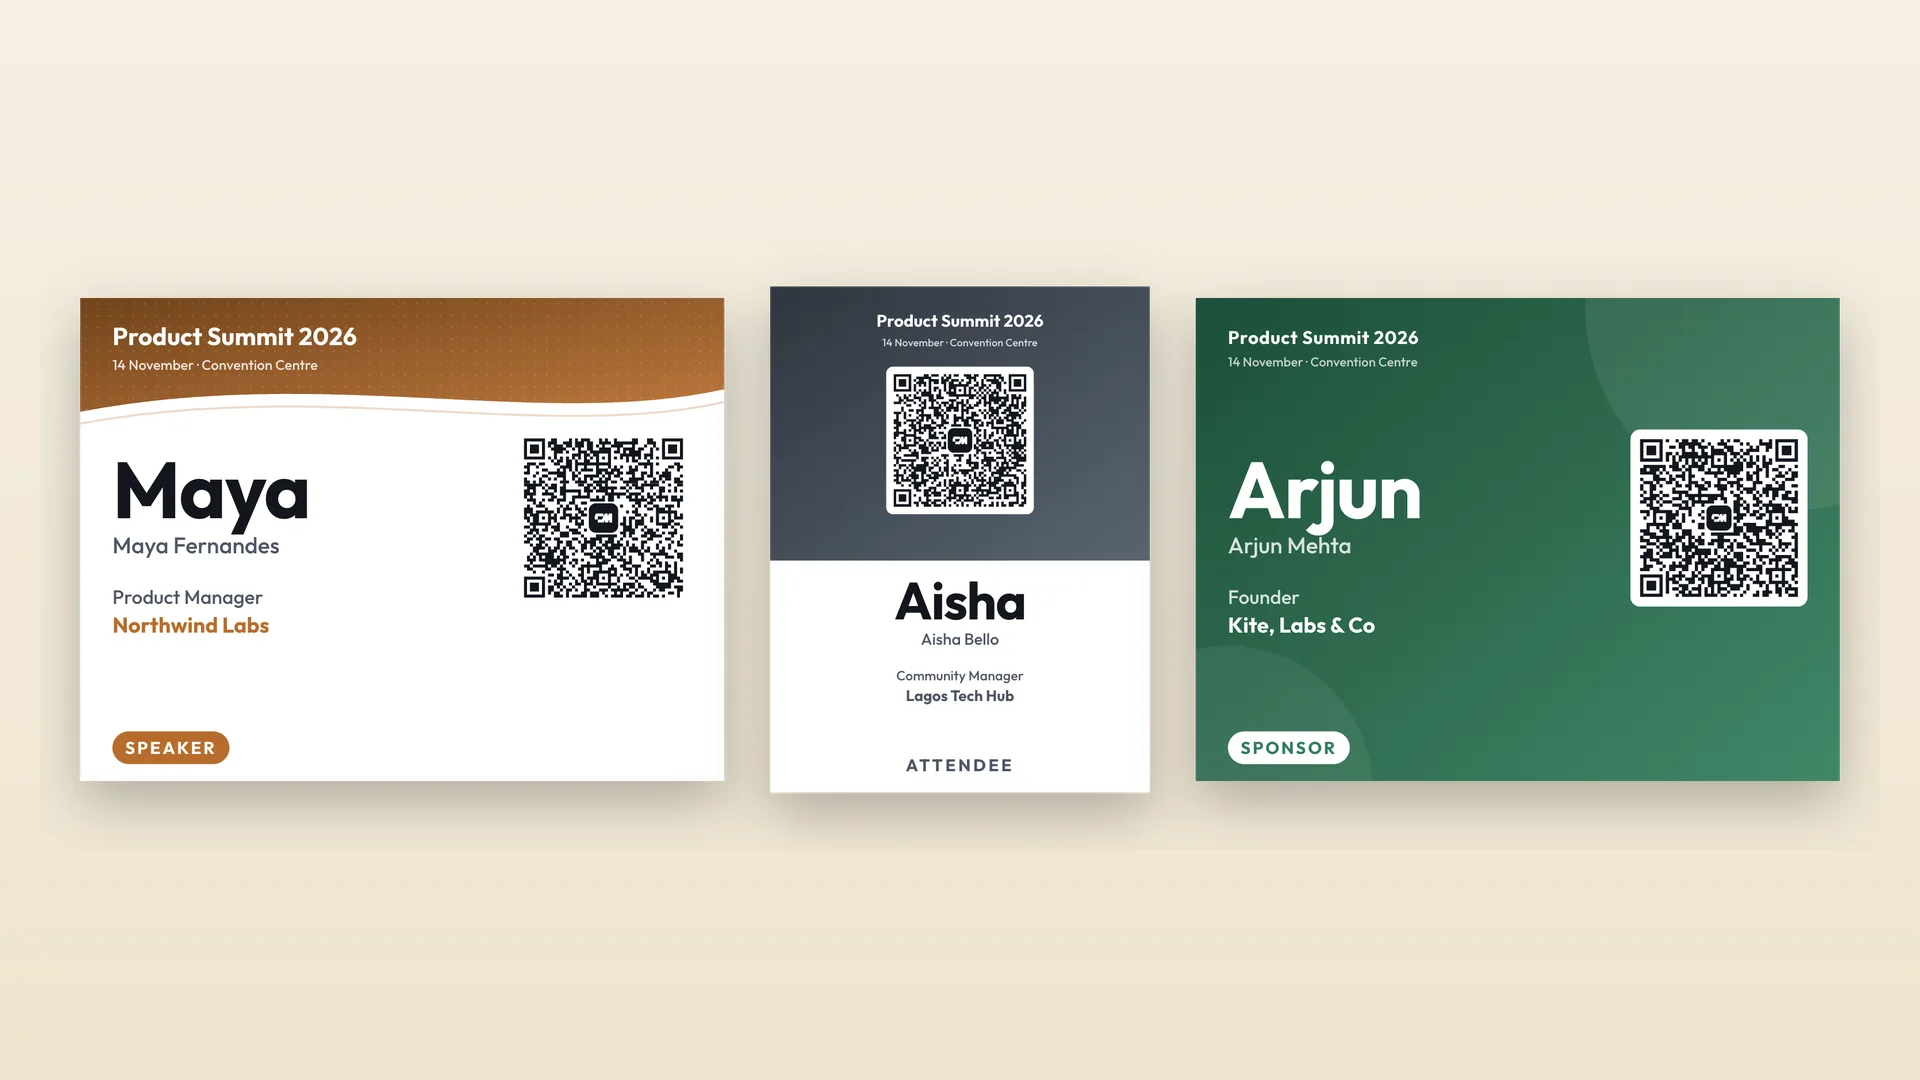
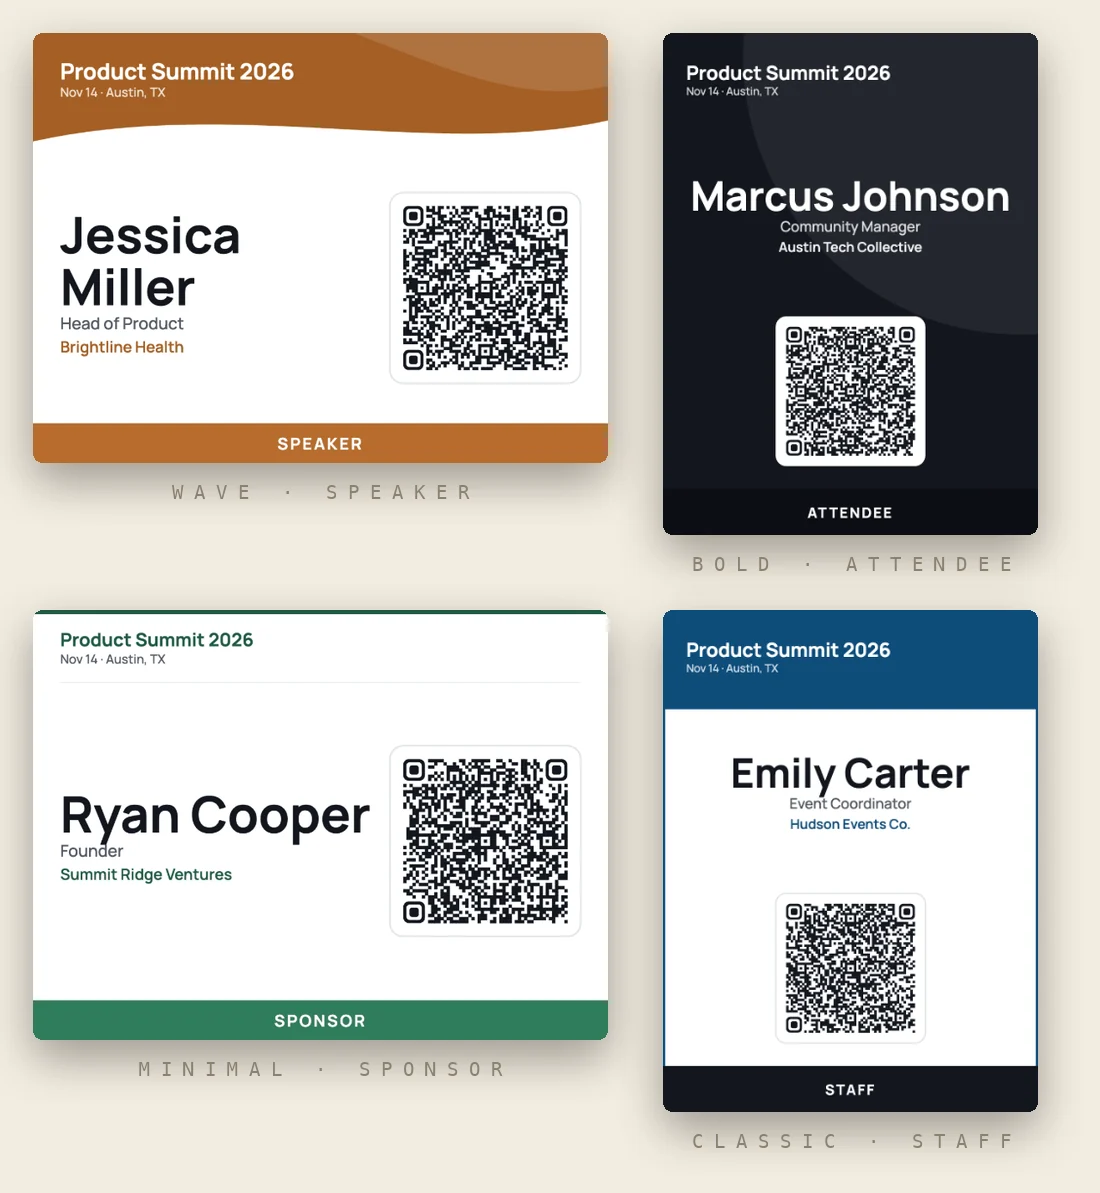
Add the event name, date and logo, choose a template and a badge size (4 × 3 in fits most holders), and decide what the QR code saves. Use the arrows under the preview to check a few attendees, especially anyone with a long name.
Print the badges
8. Print badges
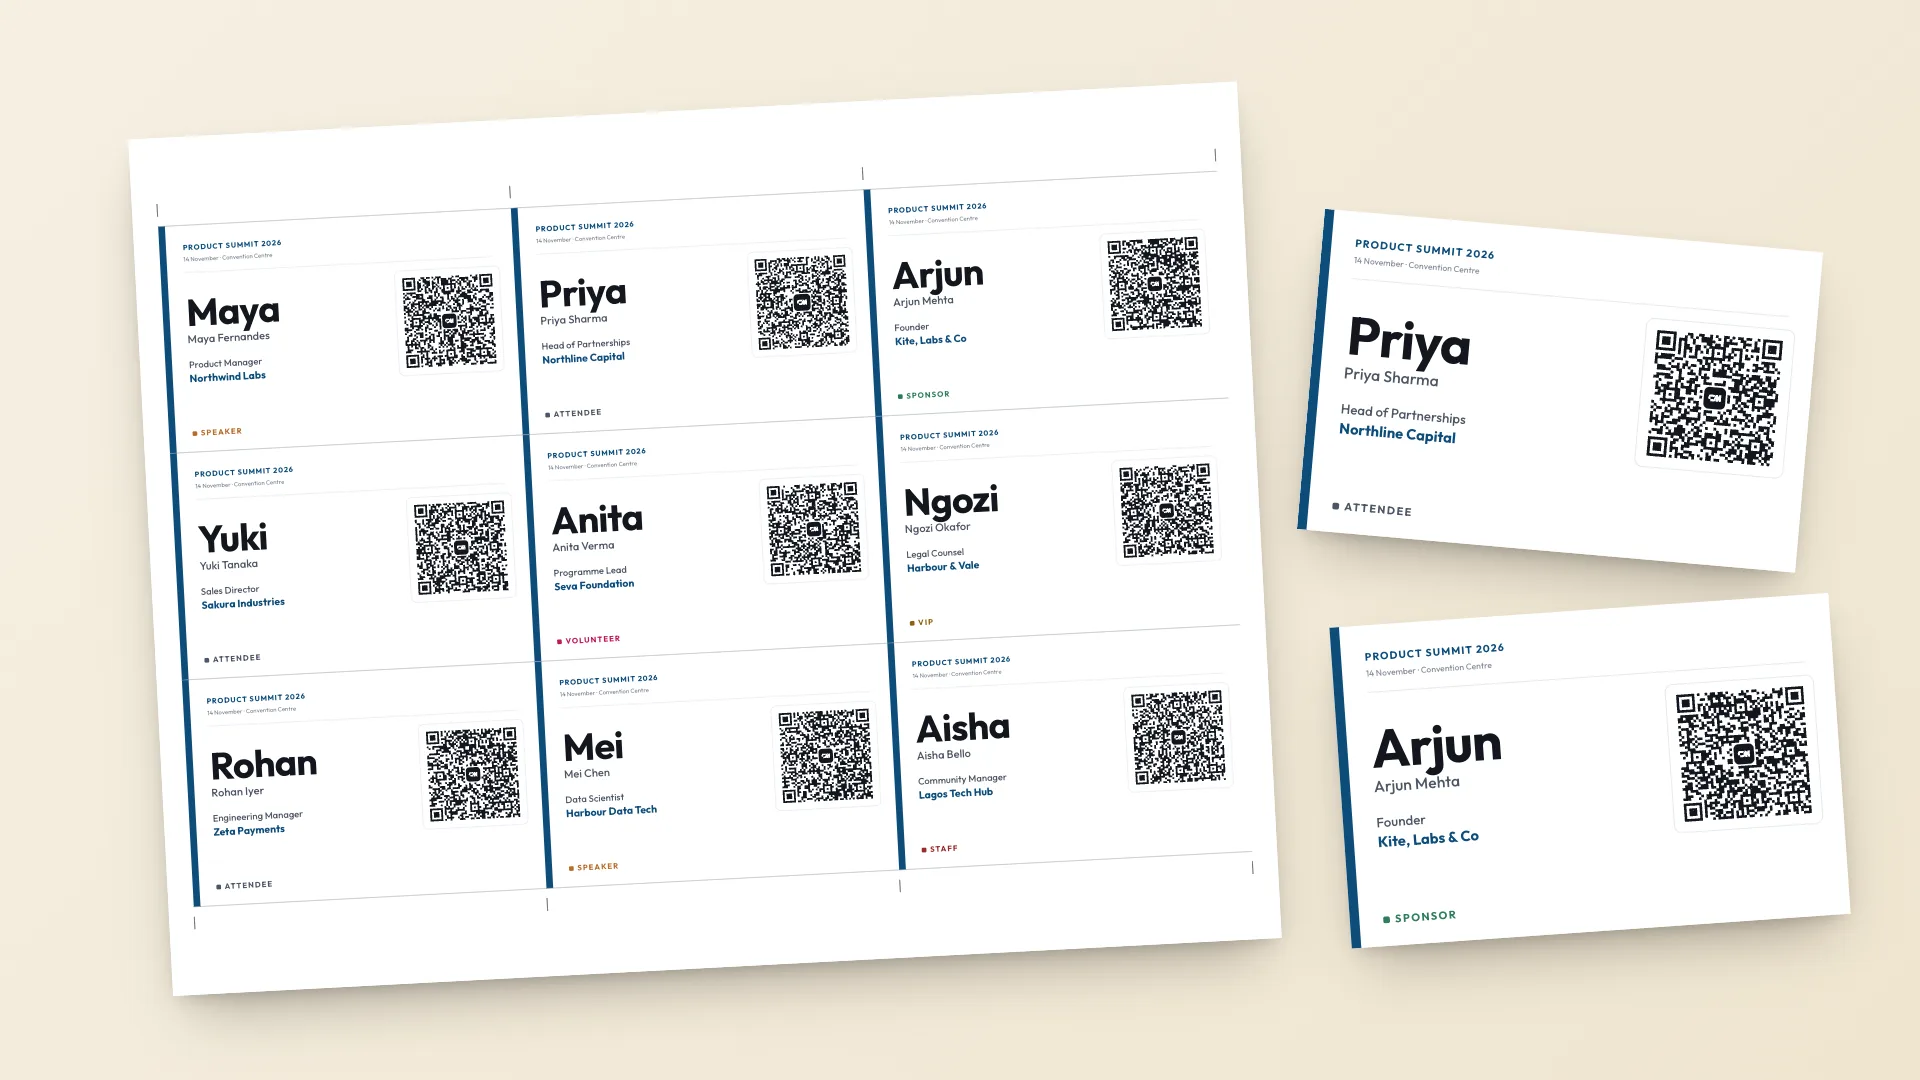
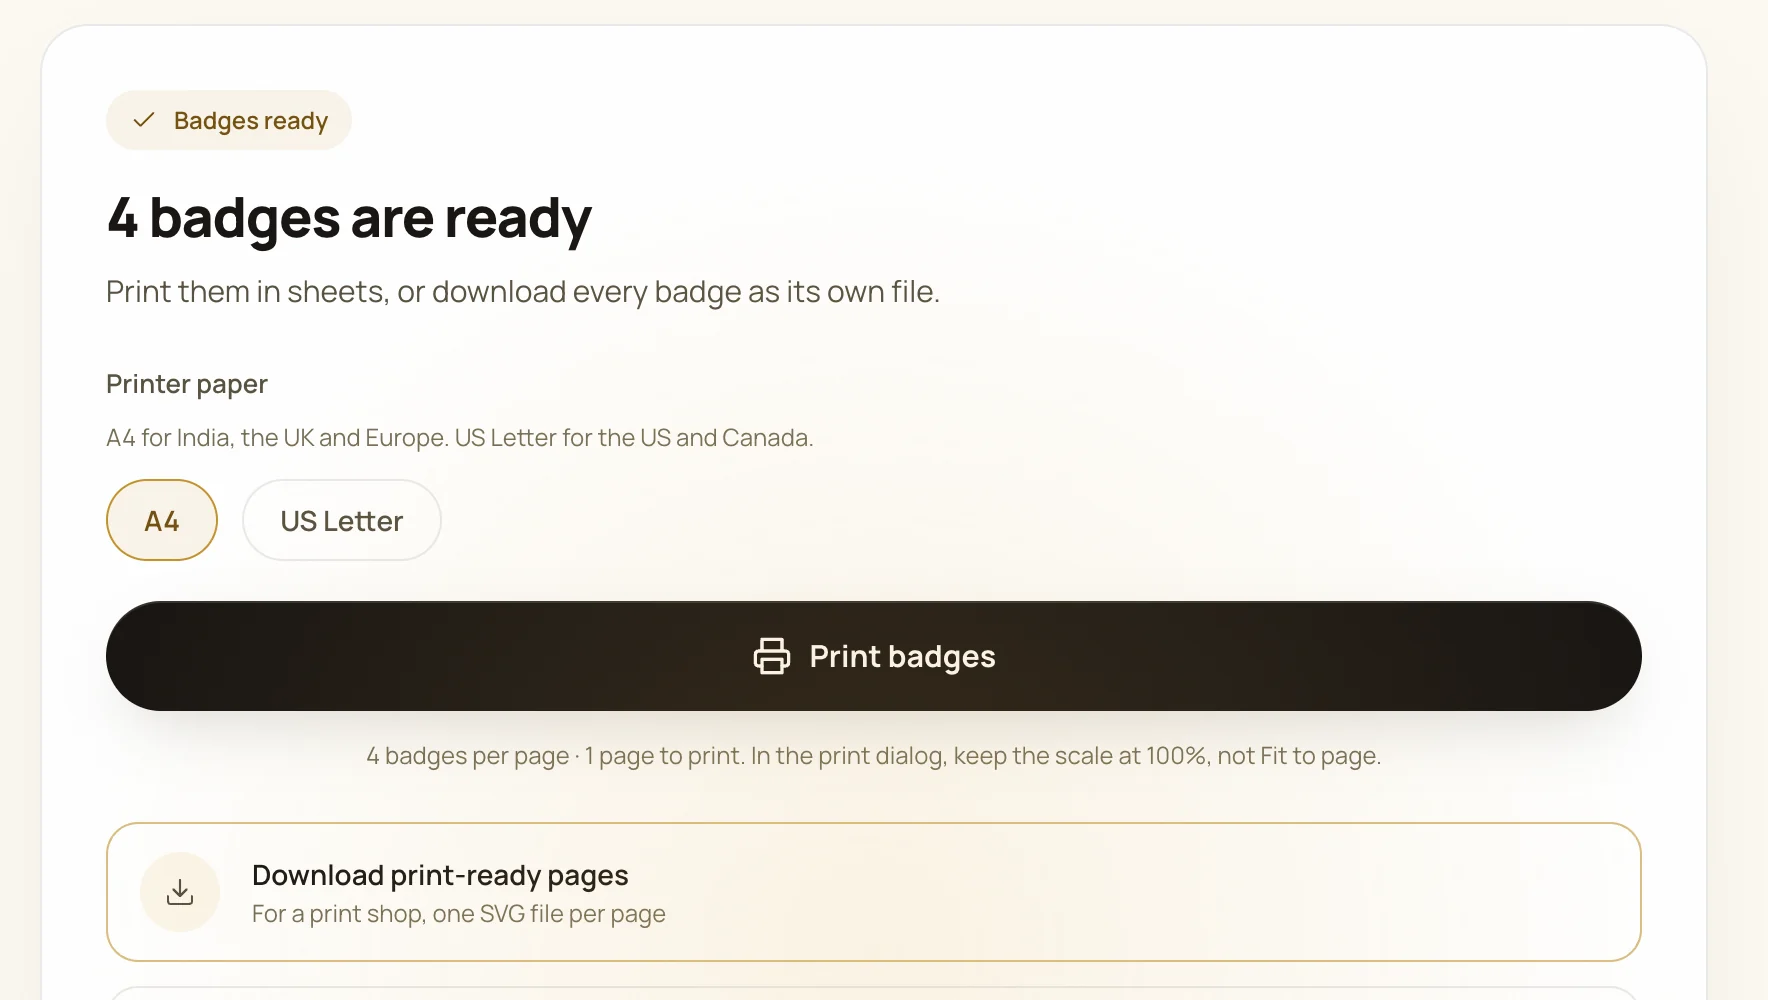
Select Create badges, then Print badges. Badges are laid out on A4 or US Letter with cut marks. Print at 100% scale with "fit to page" turned off, and run one test sheet on card stock before printing the rest.
If something looks wrong
A badge says "Info requested".
The buyer has not filled in that attendee's details yet. Eventbrite sends them reminders, or you can email the buyer and export again closer to the event.
The same name appears on several badges.
The order form collected details from the ticket buyer only. Switch it to each attendee, or fix the names in a spreadsheet before uploading.
A job title shows a name, or a company is cut short.
Badges print answers exactly as attendees typed them. Use the arrows under the preview to check a few, and fix odd entries in Manage Attendees or in the CSV before printing.
Accented names look garbled.
The file was re-saved in a non-UTF-8 format. In Excel use File › Save As › CSV UTF-8, or upload the CSV exactly as Eventbrite produced it.
The report is empty.
Eventbrite updates reports on a delay. Wait a few minutes after new orders and refresh, and check the filter is set to All Time.
Late registrations.
Export again on the morning of the event and print only the new rows, or use Just one person mode for walk-ins at the desk.